
Why Patches Show - And How to Prevent It
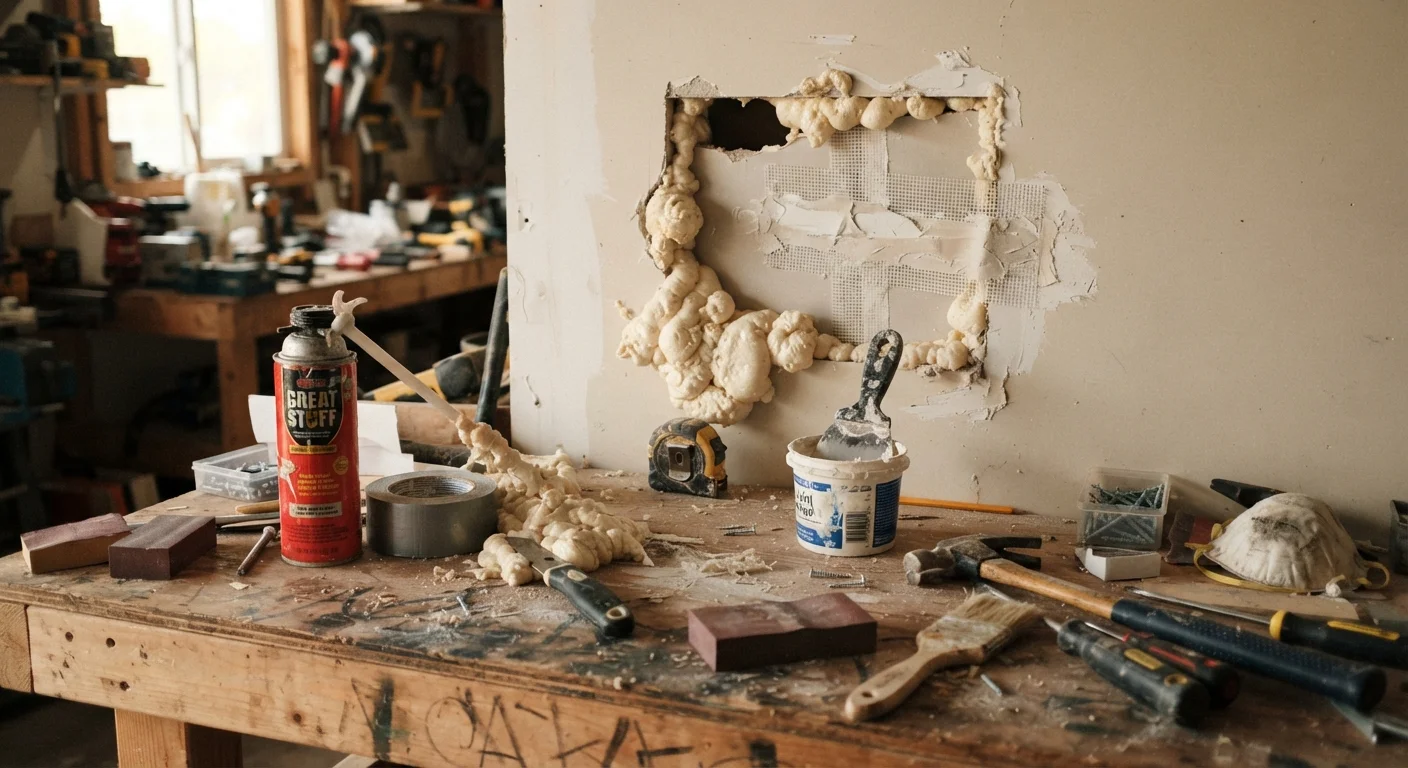
Most visible patches aren't the result of bad filling - they're the result of skipped steps. Dust on the surface, missing primer, or a mismatched sheen all create telltale signs that something was repaired. Understanding why patches show up is the first step to making sure yours don't.
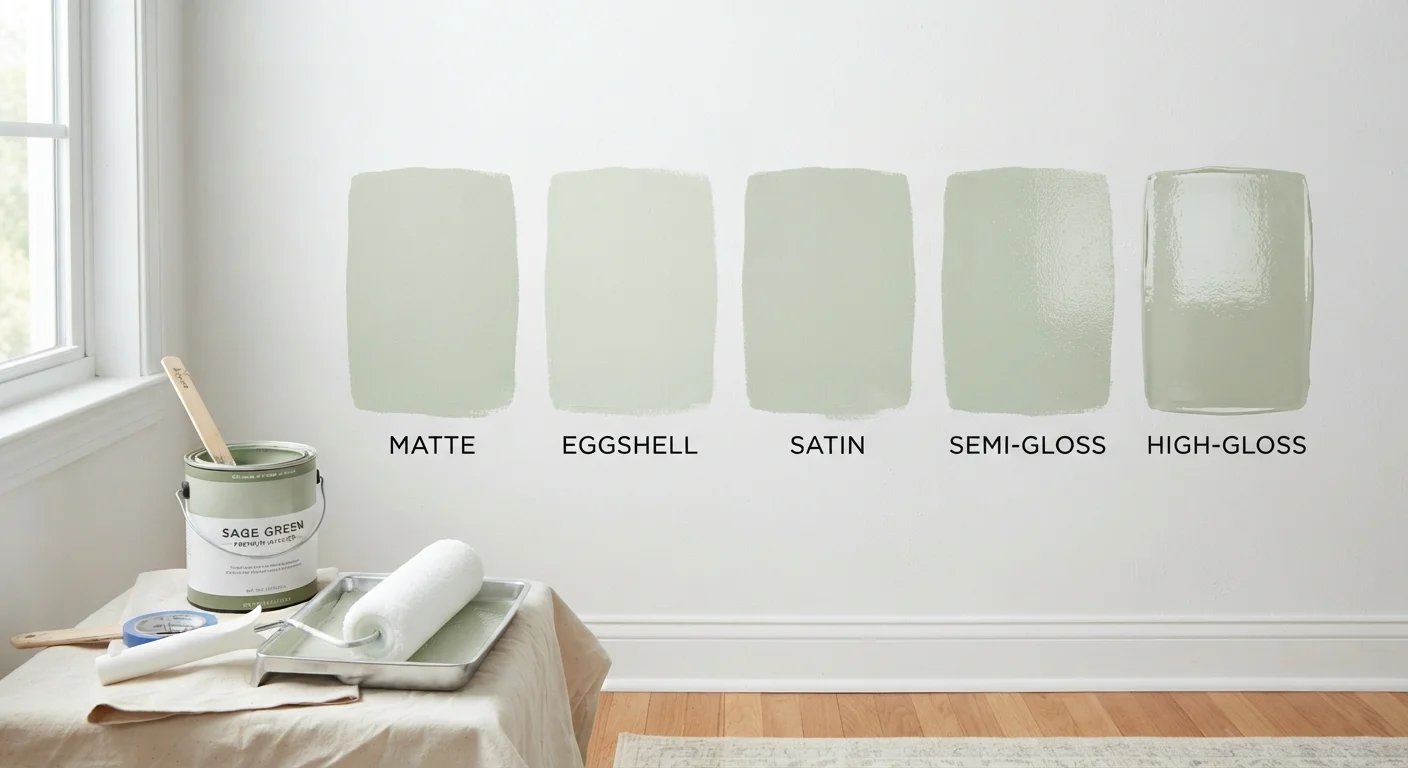
When paint is applied over an unprimed filler, the porous compound absorbs the paint differently than the surrounding wall, creating a dull or sunken-looking spot even after two coats. Similarly, painting with a different sheen than the original - say, flat paint over an eggshell wall - will catch light differently and reveal the repair. If you're unsure which sheen your wall currently has, our guide to paint finishes and sheens can help you identify it before you buy anything.
The good news: avoiding these mistakes costs nothing extra. It's purely about technique and sequence.
Best Practices for Filling and Repainting
Follow these practices in order - skipping ahead is the most common source of visible repairs.
Clean the damaged area before applying any filler.
Dust, grease, and loose paint prevent filler from bonding properly, leading to cracks or pop-outs after drying. A clean surface ensures the compound adheres and cures as intended.
Choose the right filler for the size of the repair.
Lightweight spackling compound works well for small nail holes but will shrink and crack in deeper gouges or wide cracks. Using the wrong product means doing the job twice.
Apply filler in thin layers and let each one dry fully.
Thick applications trap moisture and shrink as they cure, leaving a concave surface or visible cracking. Building up gradually produces a flat, stable result.
Sand the patched area smooth and feather the edges.
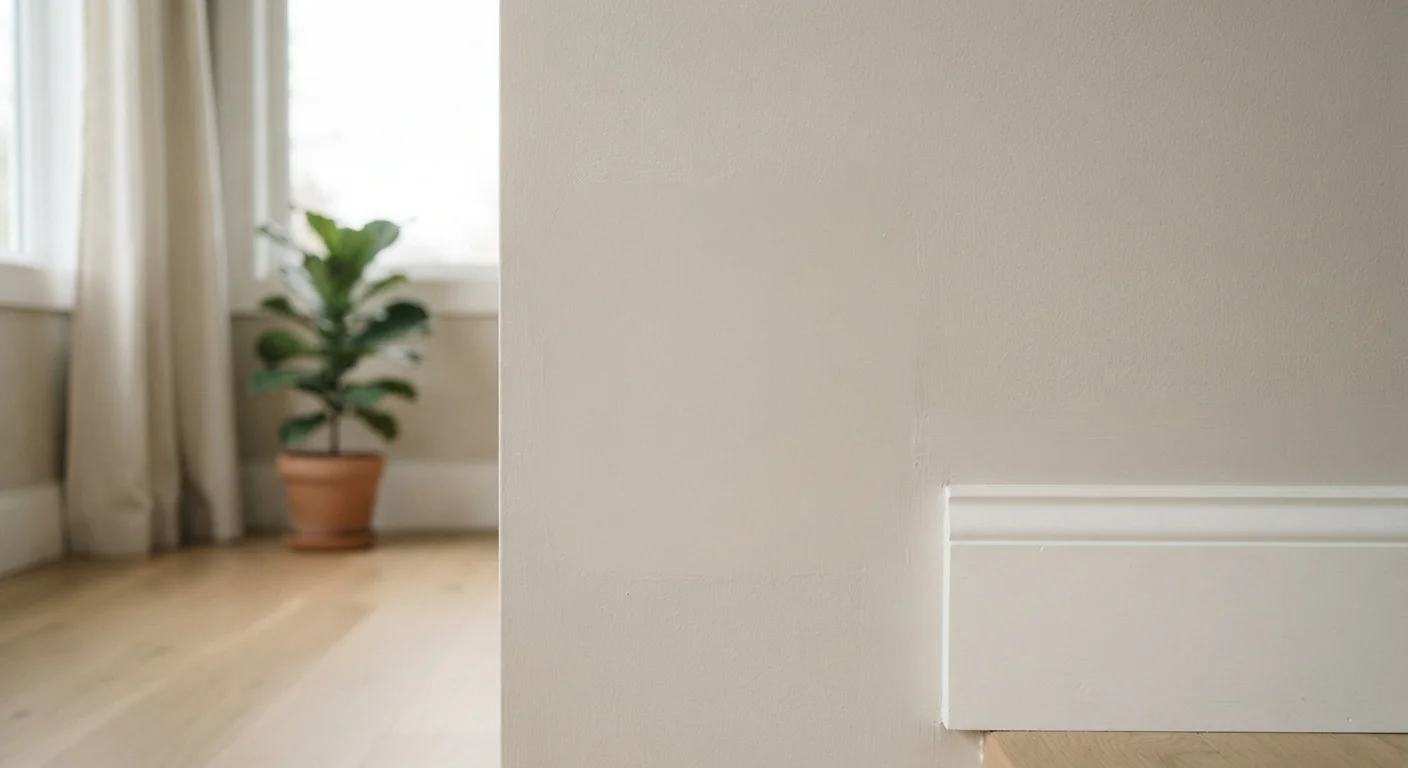
An abrupt edge between filler and wall creates a ridge that's visible under paint and in raking light. Feathering blends the transition so it's imperceptible.
Prime the patched area before repainting.
Filler is porous and absorbs paint at a different rate than the surrounding wall, creating a dull spot called flashing. A coat of primer seals the surface so topcoat paint absorbs evenly.
Feather your paint strokes outward from the patch rather than stopping at its edge.
Stopping paint exactly at the patch boundary creates a hard edge that catches light differently than the surrounding wall. Blending outward hides where the repair ends.
Quick Wins You Can Do Today
Even if you're mid-project or working with limited supplies, these actions will meaningfully improve your results right now.
For more context on which DIY assumptions can actually set you back, it's worth reading through common DIY repair myths that could make a small problem worse before tackling anything beyond a basic patch.
Getting the Paint Match Right
Color matching is often where budget-conscious DIYers try to cut corners - and it's understandable. But applying paint that's even slightly off will make a good patch visible from across the room.
When Leftover Paint Isn't Enough
Paint stored for more than a year may have separated, skinned over, or shifted slightly in sheen due to formulation settling. Before using it, stir it thoroughly and do a dry test patch. If the color looks noticeably different from the wall after drying, it's worth investing in a fresh match rather than accepting a visible repair. A small quantity of matched paint is typically available from paint retailers and is far less expensive than repainting an entire wall.
If you have leftover paint from the original job, test it first. Paint can shift slightly in color as it ages. Apply a small amount to an inconspicuous spot and let it dry completely - wet paint always looks darker. If the match is close but not perfect, blending the new paint a few inches beyond the patch into a natural break (like a corner or trim line) will make any slight variation far less noticeable.
If you're matching from scratch, take a chip of paint cut from behind a switch plate or outlet cover - areas that are protected from fading - to a paint counter for a spectrophotometer match. This technique is significantly more accurate than eyeballing a color chip.
“The difference between a patch that disappears and one that announces itself usually comes down to two things: primer and patience. Skipping either produces work you'll always be able to find in the right light.”
— Bob Vila, Home improvement expert and television host
One final note: always apply paint in the same direction as the original texture, whether that's rolled, brushed, or stippled. Changing direction changes how light bounces off the surface, and that difference is visible even when the color is perfect.