
Why Slow Drains Happen (and Why They Get Worse)
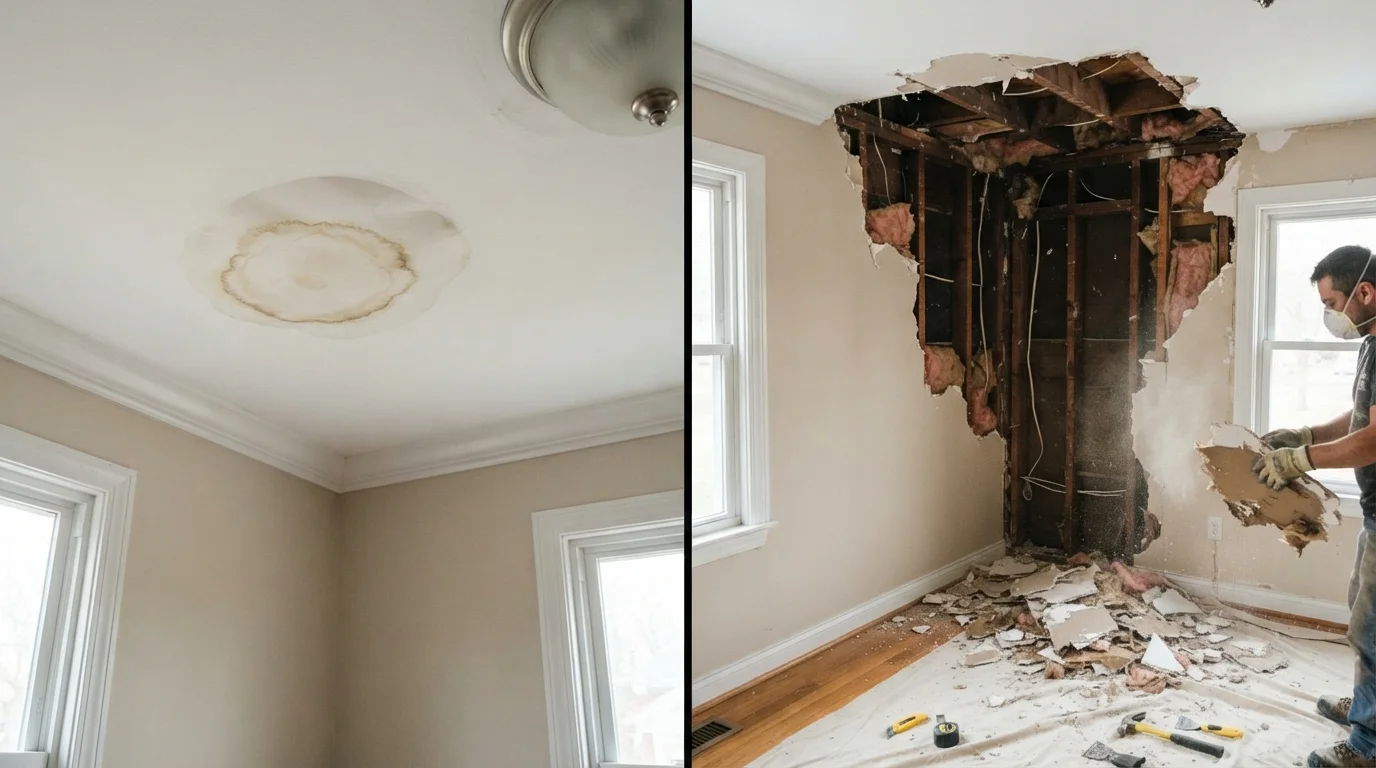
A slow drain is one of those problems that's easy to ignore - water still goes down, just not as fast. But a partial blockage nearly always grows over time. Each shower or dishwashing session deposits a thin new layer of debris on top of the existing buildup, and what started as a minor nuisance becomes a full stoppage. As our colleagues explain in why delayed repairs get expensive, small plumbing issues rarely stay small - and a drain cleaning you could handle in 20 minutes today can become a plumber's visit costing $100-$200 or more if ignored.
The cause of a slow drain almost always falls into one of a few categories:
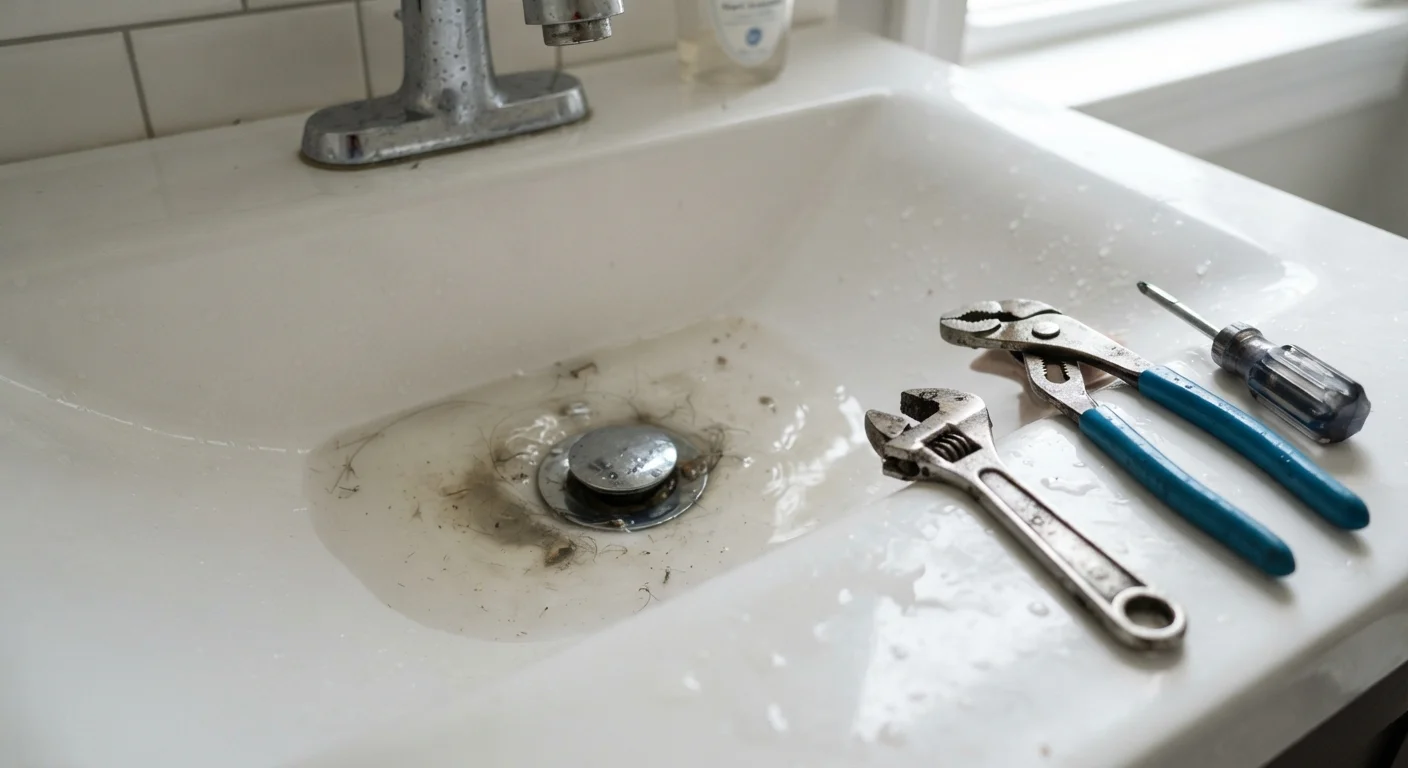
- Hair and soap scum - the primary culprit in bathroom sinks, showers, and tubs
- Grease and food particles - the main offender in kitchen sinks
- Mineral scale - calcium and magnesium deposits from hard water that narrow pipe walls over time
- A blocked or dirty P-trap - the curved pipe section directly under the fixture
Understanding which drain is affected and what flows through it gives you a strong starting hypothesis before you touch a single tool.
What you will need
What You'll Need
The right tools make this job fast and clean. Most of what you need costs under $10 total, and you may already have several items at home.
Zip-It Drain Cleaning Tool
A flexible plastic strip with barbs that grabs and pulls hair clogs out of sink and shower drains.
Flat-Cup Plunger
Creates suction to dislodge soft blockages in sink and bathtub drains.
Hand Drain Snake (25 ft.)
Reaches clogs deeper in the drainpipe that a zip-it tool cannot access.
Adjustable Pliers or Channel-Lock Pliers
Used to remove the P-trap under the sink for manual cleaning if needed.
Bucket
Placed under the P-trap to catch water when the pipe is disconnected.
One thing to avoid: commercial chemical drain cleaners as a first resort. Most contain sodium hydroxide (lye) or sulfuric acid, which can corrode older metal pipes, damage PVC joints if used repeatedly, and create a caustic hazard if the drain remains blocked and you then try to plunge or snake it. Save them as an absolute last DIY step, and read the label carefully if you do use one.
Step-by-Step: Diagnose and Clear the Blockage
Work through these steps in order. Most bathroom drain clogs resolve at step 3; most kitchen clogs clear at step 4 or 5. If you reach step 6 and the drain is still slow, the blockage is likely deeper in the drain line than DIY tools can safely reach.
Identify which drains are affected
Run water in each drain in your home - kitchen sink, bathroom sink, shower, tub, and any floor drains - and note which ones are slow. If only one drain is sluggish, the clog is almost certainly localized in that drain's branch line. If multiple drains are slow at once, or if water backs up into a tub when you flush the toilet, the blockage may be in the main sewer line, which typically requires a licensed plumber.
Inspect the drain opening for visible debris
Put on your rubber gloves and shine a flashlight into the drain opening. In bathroom sinks and showers, hair tangled around the stopper or just below the drain cover is the most common culprit. Remove the drain cover if it lifts off easily, and pull out any visible buildup by hand or with needle-nose pliers.
Use a zip-it tool to clear hair clogs
Insert the zip-it tool or a slim drain snake into the drain opening and work it slowly downward, rotating slightly as you go. Pull it back up firmly - the barbs will grab hair and debris. Repeat several times, rinsing the tool between passes, until nothing more comes up. Run hot water for 30 seconds to flush loosened material through.
Try a baking soda and vinegar flush for grease buildup
Kitchen sink drains slow down primarily from grease and food particle buildup rather than hair. Pour half a cup of baking soda directly into the drain, followed by half a cup of white vinegar. Cover the drain opening with a cloth for five minutes to direct the fizzing action downward, then flush with a full kettle of hot (not boiling) water. This method works on mild buildup; it will not dissolve a solid grease plug.
Plunge the drain to dislodge soft blockages
Fill the sink or tub basin with two to three inches of water - enough to cover the plunger cup and create a seal. If the fixture has an overflow hole (usually near the top of a bathroom sink basin), block it with a wet rag to prevent air from breaking your suction. Place the plunger cup firmly over the drain and pump vigorously 10-15 times, then lift sharply. Repeat two or three cycles and run water to test drainage.
Clean the P-trap if the drain is still slow
The P-trap is the curved pipe section under your sink that holds a small amount of water to block sewer gases. It also catches dense debris. Place your bucket under the P-trap, then loosen the two slip-joint nuts by hand or with pliers - counterclockwise. Slide the curved section off, empty it into the bucket, and use a bottle brush or your fingers to clear any buildup inside. Reinstall the trap, hand-tighten the nuts (do not overtighten), and run water to check for leaks at the joints.
Prevent Future Clogs Inexpensively
Install a simple mesh drain strainer in every shower and tub - they cost just a few dollars and catch hair before it enters the pipe. For kitchen sinks, avoid pouring cooking grease down the drain; let it solidify in a can and dispose of it in the trash. A monthly hot-water flush takes 60 seconds and keeps buildup from accumulating.
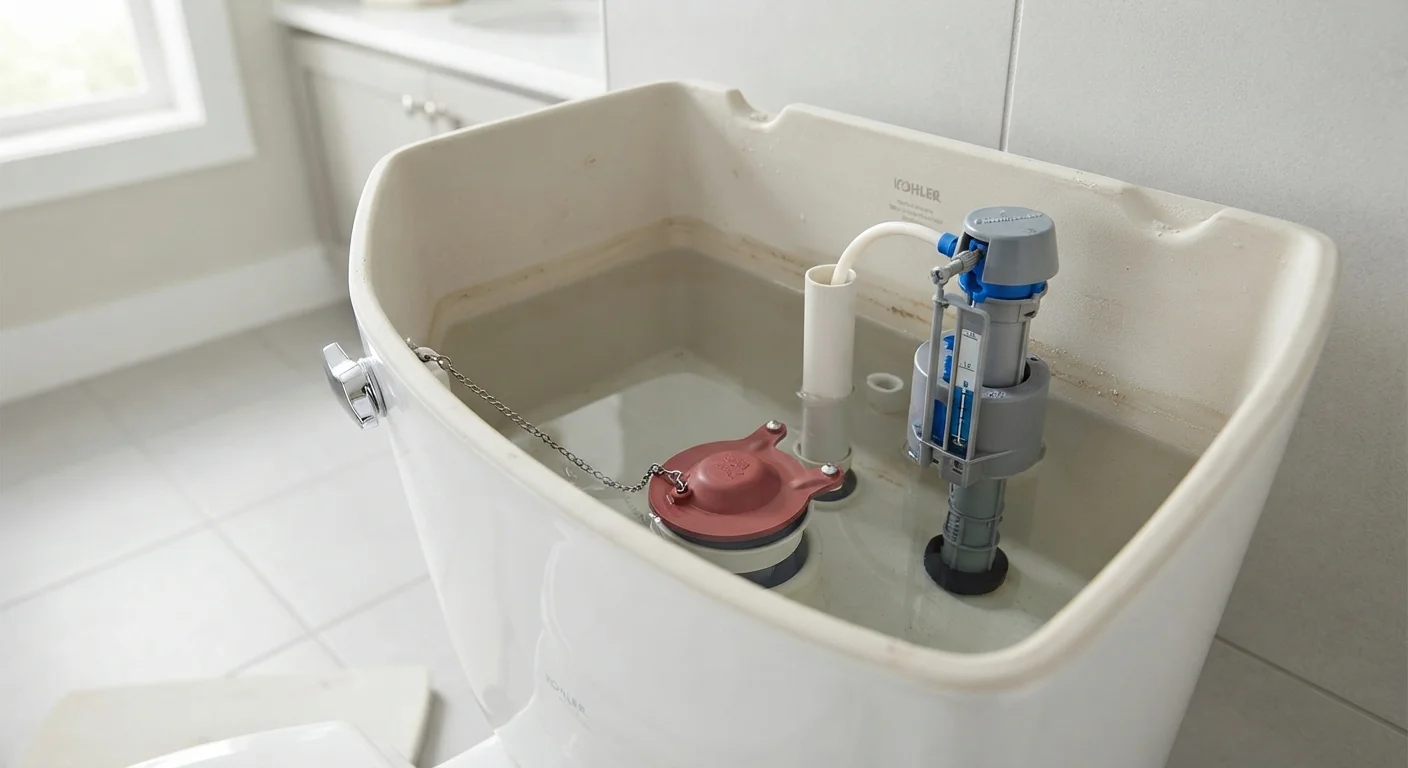
If your slow drain is in the bathroom, you might also want to check other fixtures while you're at it. A running toilet fix is another quick DIY win that can save real money on your water bill.
When to Stop and Call a Professional
DIY drain clearing has real limits, and knowing when to stop is just as important as knowing how to start. Call a licensed plumber if you encounter any of the following:
- Multiple drains in different rooms are slow or backing up simultaneously
- Toilets gurgle when you run a sink or shower - a sign of main-line blockage
- You notice sewage odor coming from floor drains or multiple fixtures
- The P-trap or drain pipes show visible corrosion, cracks, or active leaks
- Your home was built before 1980 and has cast-iron or galvanized steel drain lines, which may require professional assessment before snaking
Work involving main sewer lines, tree-root intrusion, or pipe replacement goes beyond safe DIY territory. These situations require licensed professionals and, depending on your municipality, may require permits. Always verify local requirements before beginning any work beyond the fixture level.
This article provides general home maintenance information for educational purposes. Plumbing codes and permit requirements vary by location - always check with your local building authority before undertaking repairs beyond basic fixture maintenance.