
Why Doors Go Out of Alignment
Doors rarely fail without a reason. The most common culprits are simple physics: wood expands and contracts with humidity, screws gradually loosen under repeated use, and houses settle slightly over time - shifting door frames in the process. Understanding the cause helps you apply the right fix rather than guessing.
Seasonal swelling is one of the most misunderstood causes. Wooden doors absorb moisture during humid months and can swell enough to stick against the frame - then shrink back in winter. If your sticking problem disappears in dry weather, consider whether a permanent fix (like planing) is actually necessary, or whether sealing the door's edges with paint or primer would reduce the moisture uptake enough to prevent the problem.
Hinge sag happens gradually. Each time the door is opened and closed, the weight pulls slightly on the hinge screws. Over years, screws loosen and holes widen, causing the door to drop on the latch side - which is why the latch bolt ends up hitting the wrong part of the strike plate.
Foundation or structural settling is less common but worth knowing about. If multiple doors in your home have recently gone out of alignment at the same time, or if you see cracks forming in walls or ceilings nearby, consult a professional before attempting DIY fixes. Be careful not to fall for common DIY repair myths that can turn a minor issue into a costly one.
When to Call a Professional
If your door frame is visibly warped, cracked, or pulling away from the wall, this may indicate a structural or foundation issue - not just a hardware problem. Do not attempt to force the door or make permanent cuts without investigating further. A licensed contractor should assess any signs of foundation movement or significant structural damage.
Tools and Materials You'll Need
You don't need a full workshop for this repair. Most fixes require only a screwdriver, some wood glue, and a handful of toothpicks. Gather everything listed below before you start so you're not stopping mid-task.
Flathead and Phillips screwdrivers
Tighten or remove hinge and strike plate screws.
Longer wood screws (3-inch)
Replace stripped hinge screws to restore a firm hold in the door frame.
Wooden toothpicks or matchsticks with wood glue
Fill stripped screw holes so screws can grip again.
Utility knife or small flat file
Enlarge the strike plate mortise slightly when repositioning or adjusting the plate.
Hand plane or coarse sandpaper (80-grit)
Remove small amounts of wood from a sticking door edge.
Hammer and chisel
Deepen the hinge or strike plate recess (mortise) if needed.
Pencil or lipstick
Mark where the latch contacts the strike plate to identify misalignment.
What you will need
Step-by-Step: How to Fix the Door
Work through these steps in order - earlier steps resolve the majority of cases, so you may not need to go all the way to planing.
Lipstick Trick for Pinpointing Misalignment
Rub a small amount of lipstick or chalk on the end of the latch bolt, then close the door slowly. The mark it leaves on the strike plate (or door frame) shows exactly where alignment is off - saving you guesswork before you reach for any tools.
Diagnose the problem
Open and close the door slowly, watching and feeling where it catches, rubs, or fails to latch. Check each of the following:
- Sticking edge: Rub a pencil along the door edge to find where it makes contact with the frame.
- Latch bolt miss: Use the lipstick trick - apply lipstick or chalk to the bolt end, close the door, and see where it marks the frame.
- Hinge gap: Look for a gap between the door and frame on the hinge side, which points to loose or sagging hinges.
- Seasonal swelling: If the problem appeared after a change in weather, humidity-related wood swelling is likely.
Tighten or replace loose hinge screws
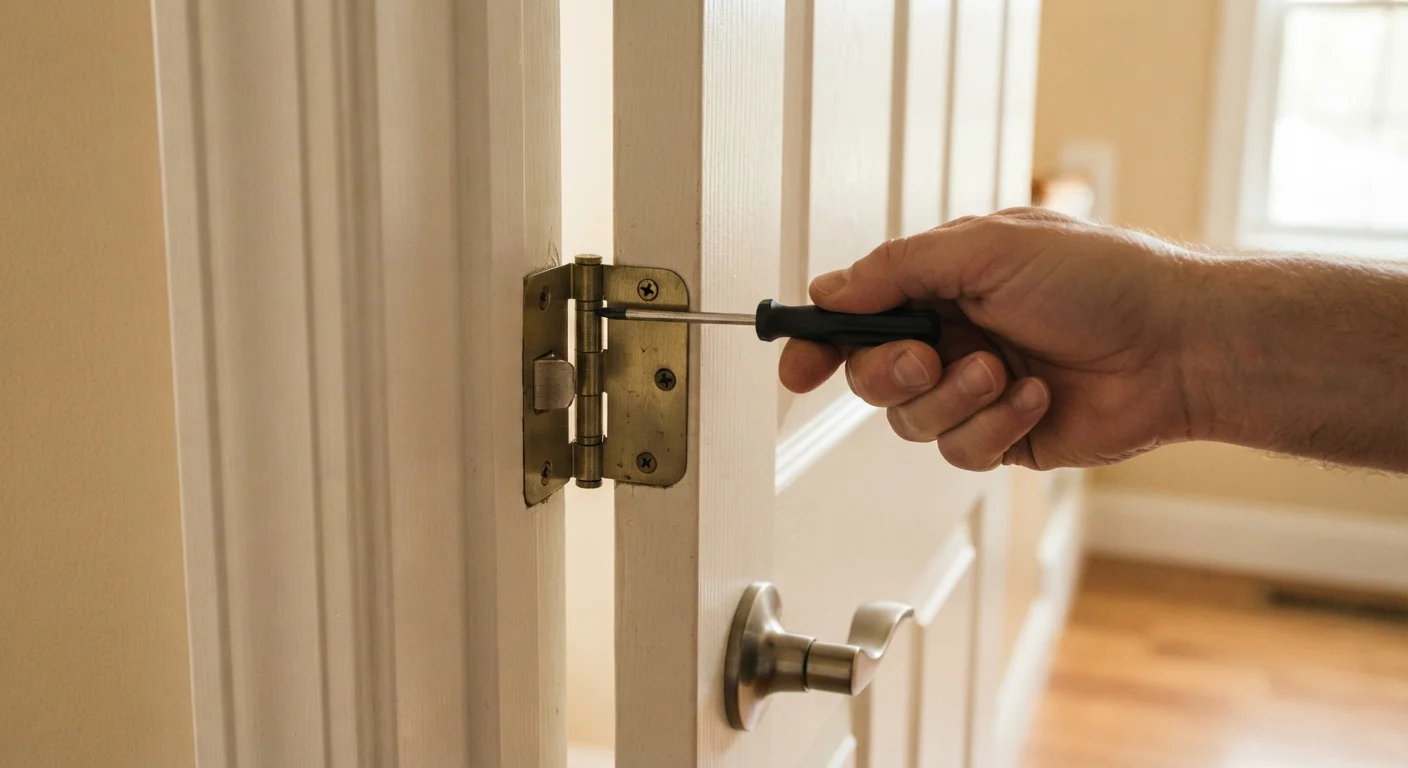
Loose hinges are the most common cause of a door that sticks or fails to latch. Open the door and check every hinge screw. If any spin freely without tightening, the screw hole is stripped.
To fix stripped holes:
- Remove the screw entirely.
- Dip a wooden toothpick or matchstick in wood glue and push it into the hole. Let it dry fully (at least one hour).
- Snap off the excess wood flush with the surface.
- Drive the original screw back in - or better yet, use a 3-inch screw that reaches the structural framing behind the door jamb for a much stronger hold.
Adjust or reposition the strike plate
If the latch bolt is hitting just above, below, or to the side of the strike plate opening, the plate needs to move. Loosen its screws and shift it in the direction needed. If the existing screw holes prevent repositioning far enough:
- Fill the old holes with toothpicks and glue (same method as Step 2).
- Chisel a slight extension to the mortise (the recessed pocket the plate sits in) if moving the plate by more than 1/8 inch.
- For very small misalignments, use a flat file to enlarge the strike plate opening in the direction the bolt needs to travel - no repositioning required.
Plane or sand a sticking edge
If the door physically rubs against the frame and hinge tightening didn't resolve it, you'll need to remove a small amount of material from the sticking edge.
- Mark the friction zone clearly with a pencil.
- For small amounts: use 80-grit sandpaper wrapped around a flat block and work in the direction of the grain.
- For more removal: a hand plane gives more control than power tools for beginners.
- Work in thin passes and test the fit after each pass.
Once satisfied with the fit, apply a coat of primer or paint to the exposed wood to seal it against moisture - this helps prevent future swelling.
Test and make final adjustments
Close the door firmly and check that the latch engages fully without force. The door should sit flush in the frame with an even gap on all sides (typically 1/8 inch). Test the lock if the door has one - a properly aligned door should lock and unlock smoothly.
If the door still doesn't close correctly after these steps, inspect the frame itself for warping, and check whether the hinge-side jamb has pulled away from the wall - both may require professional attention.
Don't Plane Too Much at Once
Removing too much wood when planing a sticking door can create a permanent gap that lets in drafts and light - and can't easily be reversed. Work in thin passes and test the fit frequently. If the door sticks only in summer, consider waiting to see if it corrects itself when humidity drops before planing.
When the Fix Doesn't Hold
If you've tightened the hinges, adjusted the strike plate, and the door still won't cooperate, look at the frame itself. Run your hand along the inside of the frame to feel for warping. Use a straightedge or level to check whether the jamb is plumb (vertically straight). A frame that has twisted or bowed significantly is beyond a simple hardware fix.
Similarly, if you notice the door rubs at a diagonal - catching at the top latch corner and the bottom hinge corner simultaneously - this often indicates the frame is racked (parallelogram-shaped rather than rectangular). This type of problem typically requires re-framing or professional assessment, especially if it's tied to foundation movement.
For most renters and homeowners, though, a sticking or non-latching door is a straightforward repair that takes under an hour and costs little more than a few longer screws.