
Why Floors Squeak in the First Place
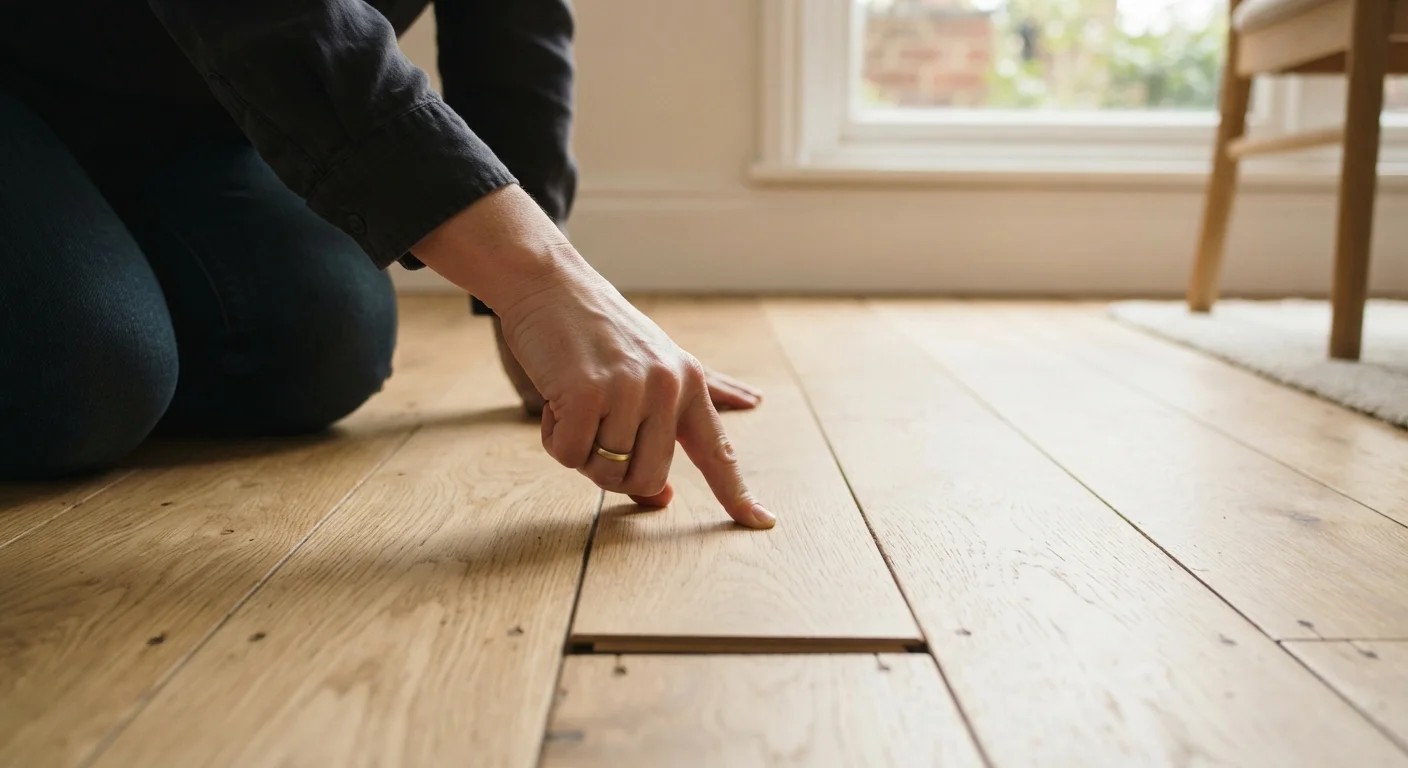
A squeaky floor is almost always a friction problem, not a structural one. Over time, the wooden boards in your floor - whether hardwood planks or plywood subfloor panels - shift slightly and rub against nails, each other, or the joists below. That rubbing creates the familiar creak underfoot.
Common culprits include:
- Loose nails: Nails that once held boards tightly to joists can work loose over years of foot traffic, letting the board lift and drop with each step.
- Gaps between subfloor and joists: Seasonal wood movement can open small gaps that allow the subfloor to flex and rub.
- Board-on-board friction: Adjacent planks rubbing at their edges produce a squeak that sounds deeper and more diffuse.
Understanding which type of squeak you have - surface friction, subfloor flex, or nail movement - helps you choose the right fix. The good news is that all three respond well to non-invasive approaches if caught early.
Squeaks in Cold Weather? Check Humidity First
Wood naturally contracts in dry winter air, widening the gaps that cause squeaking. Before spending time on mechanical fixes, try raising indoor humidity with a humidifier and wait a week or two. Seasonal squeaks sometimes resolve on their own once humidity stabilizes. If the squeak persists regardless of season, then move on to the steps below.
What You'll Need
Gather these materials before you start. Most are inexpensive and available at any hardware store.
Powdered graphite or talcum powder
Acts as a dry lubricant between rubbing floorboards to reduce friction-based squeaks.
Trim-head wood screws (1.5"-2")
Used to pull loose floorboards or subfloor panels tight without a large visible hole.
Drill with countersink bit
Pre-drills holes to prevent wood splitting and sets screw heads below the surface.
Wood filler (floor-tone matched)
Fills countersunk screw holes so the repair blends into the finished floor surface.
Painter's tape
Marks squeak locations on the floor so you don't lose track of them as you work.
Stud finder
Locates joists beneath the subfloor so screws can be driven into solid framing.
You won't need specialty equipment or professional-grade tools for the majority of squeak repairs. A basic toolkit and a bit of patience will take you a long way.
What you will need
Step-by-Step: Silencing the Squeak
Follow these steps in order. Each builds on the previous one, so resist the urge to skip ahead to a more aggressive fix before trying the simpler options first.
Walk the floor and mark every squeak location
Move slowly across the floor, putting your full weight on each section. When you find a squeak, press down repeatedly to confirm it, then place a small piece of painter's tape nearby as a marker. Note whether the squeak is louder near the wall (likely a joist issue) or in the field of the floor (more likely board-on-board or nail movement).
Try a dry lubricant at the seams first
For surface squeaks between hardwood planks, apply powdered graphite or talcum powder directly into the seam between the boards at the squeak location. Work the powder in by laying a cloth over the area and walking back and forth to push the lubricant deeper into the joint. Sweep up any excess.
This costs almost nothing and takes less than five minutes. It works best on boards that are rubbing at their edges rather than flexing on loose nails.
Drive screws from below (if you have access)
If you can access the space below the floor - a basement, crawlspace, or even a lower floor with exposed joists - this is the most effective non-invasive method. Have a helper stand on the squeak while you identify the flex point from below. Drive a short wood screw up through the subfloor into the finished floor above, stopping well short of breaking through the surface. The screw pulls the subfloor tight against the joist and eliminates the movement causing the squeak.
Critical: Measure the combined thickness of your subfloor and finished floor carefully before selecting your screw length. A screw that's even a quarter-inch too long will puncture through your finished floor.
Use trim-head screws from the top surface
If you have no access from below, drive trim-head screws (narrow-headed screws designed for finish work) down through the finished floor at an angle into the subfloor or joist below. Pre-drill to avoid splitting the wood, then countersink the screw head slightly below the surface. Fill the hole with a wood filler that matches your floor color and let it cure before walking on it.
This method leaves a very small, filled hole - barely noticeable if you match the filler color well.
Check and re-secure any loose floor registers or transitions
Squeaks near vents, doorways, or room transitions are often caused by a loose register cover or threshold strip rather than the floor boards themselves. Tighten any visible screws on register covers and check that transition strips are flush and secured. These quick fixes are overlooked surprisingly often.
When the Fix Doesn't Hold - and What to Do Next
If a squeak returns within a few weeks, the board movement is likely more significant than surface friction. Check whether the squeak worsens in winter (dry air contracts wood) and improves in summer - that pattern points to a humidity issue. Running a humidifier to maintain indoor relative humidity between roughly 35% and 55% can reduce seasonal wood movement substantially over time.
Persistent squeaks despite multiple fix attempts may indicate a more significant subfloor gap or a joist that has begun to bow. In those cases, it's worth having a licensed contractor take a look - not because the squeak itself is dangerous, but because the underlying cause could be. Similarly, if you notice soft or spongy spots in the floor alongside the squeak, that warrants professional inspection for potential moisture damage.
For most everyday squeaks, though, one or two rounds of the steps above will quiet the floor reliably and keep it that way for years.