
Why This Checklist Saves You Money
Security deposits typically equal one to two months' rent - a significant chunk of money that landlords are permitted to withhold if the rental is returned in worse condition than it was received (accounting for normal wear and tear). The catch? "Normal wear and tear" is a gray area, and many landlords charge for things a renter could have fixed for a few dollars and an hour of effort.
Working through this checklist room by room gives you a clear picture of what needs attention before your landlord does the final walkthrough. For readers who want to build broader DIY confidence, our beginner's guide to DIY home repairs covers toolkit basics and which fixes are renter-safe.
Check Your Lease Before Picking Up a Brush
Always review your specific lease agreement before starting repairs. Some leases prohibit tenants from painting or making alterations - even corrective ones - without prior written landlord approval. When in doubt, contact your landlord first to avoid inadvertently voiding a provision or creating a new liability.
Always review your specific lease agreement before starting repairs. Some leases prohibit tenants from painting or making alterations - even corrective ones - without prior written landlord approval. When in doubt, contact your landlord first.
Tools and Supplies You'll Need
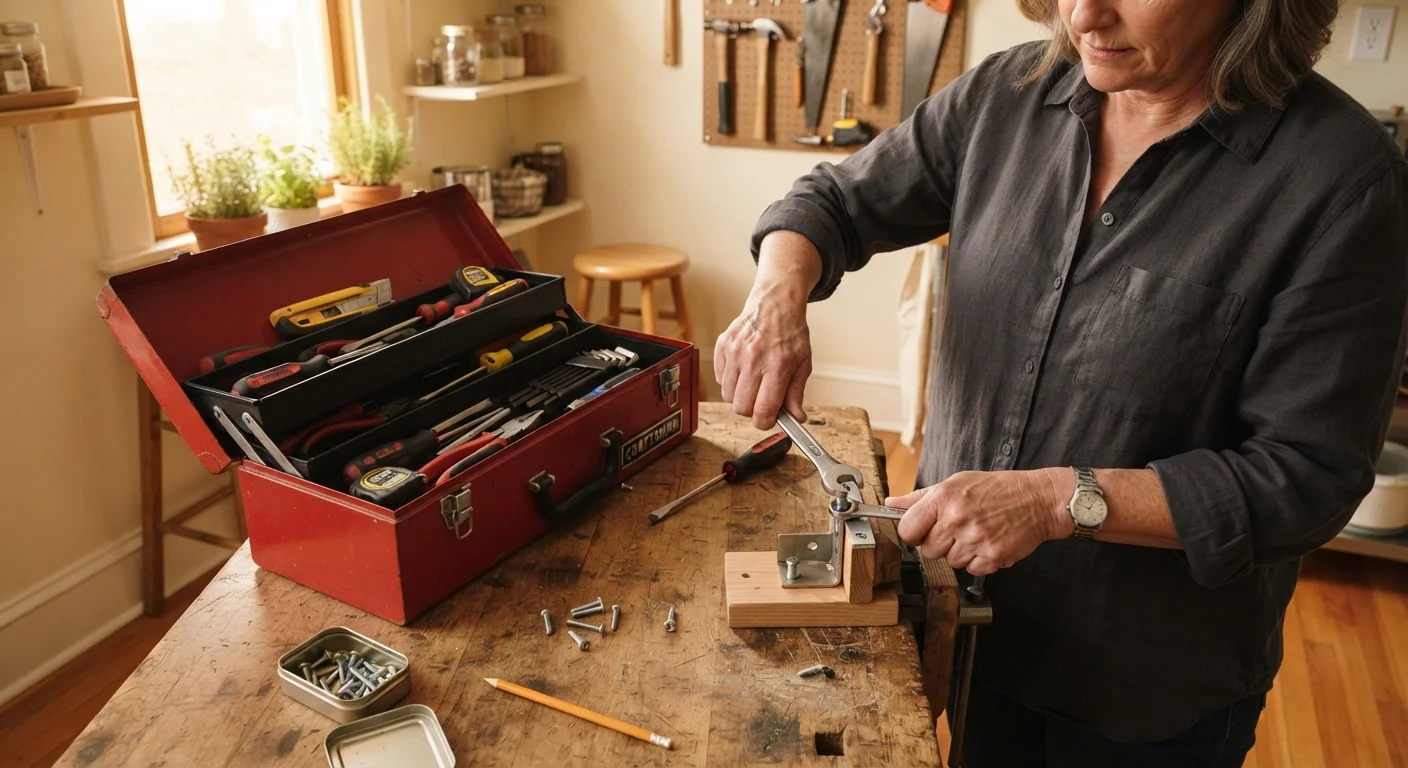
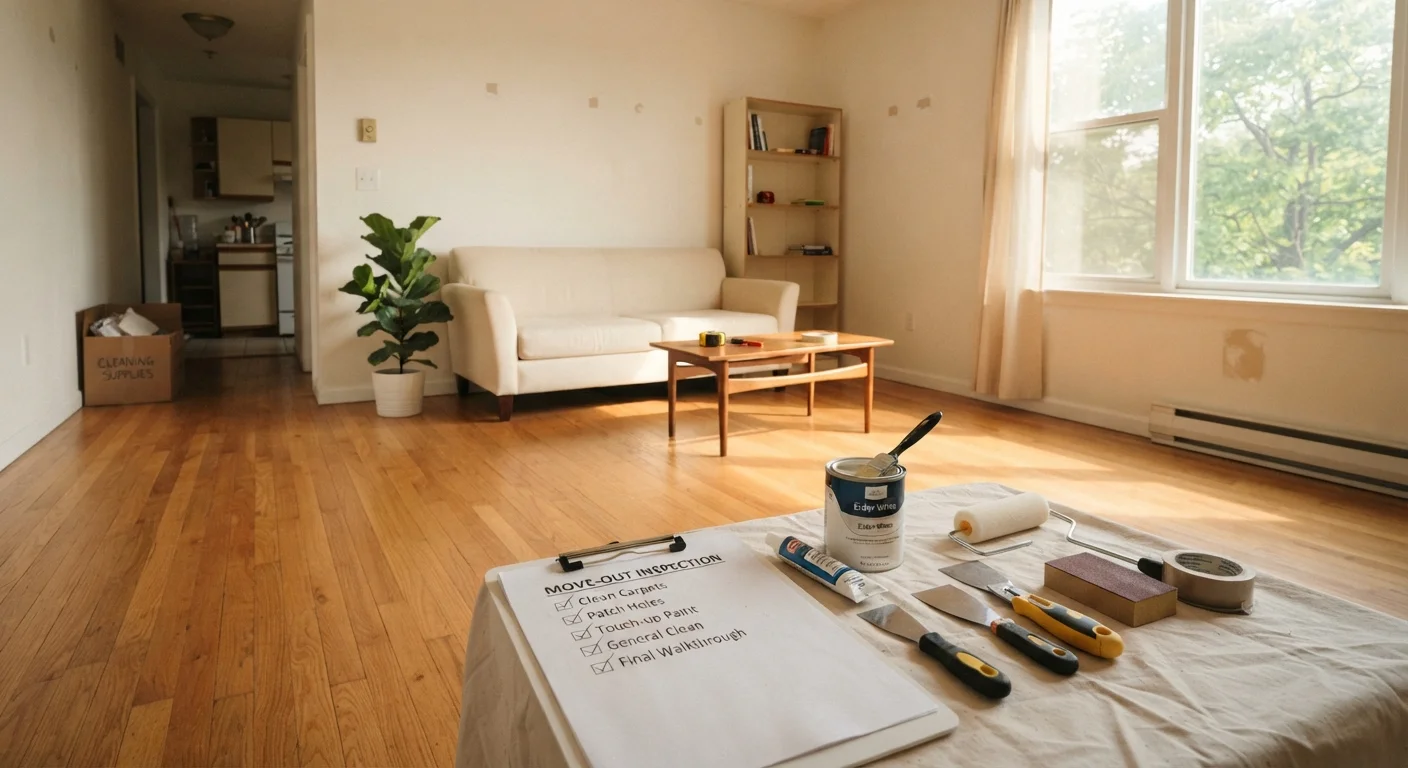
Most of the repairs on this checklist require only basic supplies available at any hardware store for well under $50 total. Gather everything before you start so you can move efficiently from room to room.
Spackling compound and putty knife
Fill and smooth nail holes and minor wall dents before painting.
Fine-grit sandpaper (120-220 grit)
Sand patched areas smooth for a clean, even paint surface.
Touch-up paint (matched to existing wall color)
Cover patched spots and scuffs so repairs blend with surrounding walls.
Drywall patch kit
Repair larger holes in drywall left by anchors or accidental impacts.
Caulk gun and tub/tile caulk
Re-seal cracked or moldy caulk lines around sinks, tubs, and showers.
Screwdriver set (flathead and Phillips)
Tighten loose fixtures, hinges, outlet covers, and switch plates.
Smartphone or camera
Document the property's condition with timestamped photos before and after repairs.
Drain snake or enzymatic drain cleaner
Clear slow-running drains in sinks, showers, and tubs before handover.
The Room-by-Room Repair Checklist
Work through each category below systematically. Check off items as you complete them, and photograph each repair before and after - this documentation is your evidence if any deposit dispute arises.
Walls and Ceilings
Floors
Doors and Windows
Kitchen and Bathrooms
Fixtures and Fittings
Never Attempt Electrical, Gas, or Structural Repairs
DIY repairs on electrical wiring, gas lines, load-bearing structures, or plumbing connected to the main supply are dangerous and commonly require licensed professionals and permits. If you've identified damage in these areas, notify your landlord in writing immediately and let a qualified tradesperson handle the work. Attempting these repairs yourself can be unsafe and may put you in breach of your lease.
Don't Confuse Normal Wear and Tear With Damage
Landlords cannot legally charge for normal wear and tear - things like minor scuffs from furniture, small nail holes from hanging pictures, or faded paint from sunlight. Focus your repair efforts on genuine damage you caused, and keep your original move-in condition report handy to dispute any unfair claims.
After the Repairs: Final Steps Before Handover
Once you've completed your repairs, do one final walkthrough using a critical eye - pretend you're the landlord. Look at walls in raking light (hold a flashlight at an angle to the surface) to catch uneven patches. Run every faucet, flush every toilet, and test every light switch and outlet.
Take a comprehensive set of timestamped photos and videos of every room, focusing on any area you repaired. If possible, request a pre-move-out inspection with your landlord - many states give tenants this right, and it lets you address concerns before the final walkthrough rather than after you've handed over the keys.
Managing move costs is part of a broader effort to keep your budget in check. If you're also reviewing recurring expenses at this stage of life, our room-by-room energy audit is useful whether you're staying or going to a new place.
This article is for general informational purposes only. Repair requirements vary by state, local housing code, and individual lease terms. Verify your obligations with your lease and, where applicable, a qualified housing professional.