
Why Re-Grouting Is Worth Doing
Cracked, crumbling, or darkly stained grout is one of the most common bathroom problems - and one of the most frequently overlooked. Beyond aesthetics, deteriorated grout allows moisture to penetrate behind tiles, which can cause progressive damage to the wall substrate and, over time, lead to much more costly repairs.
The good news: in most cases you don't need to pull tiles off the wall to fix it. Re-grouting - removing the damaged grout and replacing it in place - is a realistic DIY project for a weekend, and the materials involved are genuinely affordable. It sits in the same family of accessible home refresh tasks as filling and repainting a wall, where careful preparation makes the real difference in the final result.
Before you begin, confirm your tiles are solidly fixed. Tap across the surface - a hollow sound suggests the tile adhesive has failed, and that requires professional attention rather than a grout fix.
What you will need
What You'll Need
Re-grouting requires only a modest set of tools, most of which are available at any hardware store. Renting a power tool for the removal stage can save considerable effort on larger walls.
Grout rake or oscillating multi-tool with grout blade
Removes old grout from the joints to the required depth without damaging the tiles.
Grout float
Spreads and presses fresh grout firmly into the joints at the correct angle.
Bucket and mixing paddle (or stiff stick)
Mixes powdered grout with water to a consistent, lump-free paste.
Sponge and clean cloths
Wipes away grout haze from the tile faces during and after application.
Grout sealer
Applied once grout has cured to protect it from moisture and staining.
Safety glasses and dust mask
Protects eyes and lungs from grout dust during the raking stage.
Painter's tape
Masks fixtures, fittings, and edges to keep grout off surfaces you don't want stained.
Do Not Skip the Raking Step
Applying new grout directly over old grout without removing material first is one of the most common DIY mistakes. New grout needs a depth of at least 2-3mm to bond correctly - without it, the repair will crack and loosen within weeks. Take the time to rake properly before moving forward.
Step-by-Step Instructions
Follow these steps in order for best results. Allow adequate drying time at each stage - patience here pays off in a finish that lasts.
Assess the grout and prepare the area
Before buying materials, inspect the grout closely. Press along the joints - grout that is soft, powdery, or allows any tile movement points to a deeper issue that re-grouting alone won't fix. If tiles are loose, seek professional advice first.
Clear the area, cover the bathtub or shower tray with a dust sheet, and mask any fixtures or fittings with painter's tape to protect them from staining.
Rake out the old grout
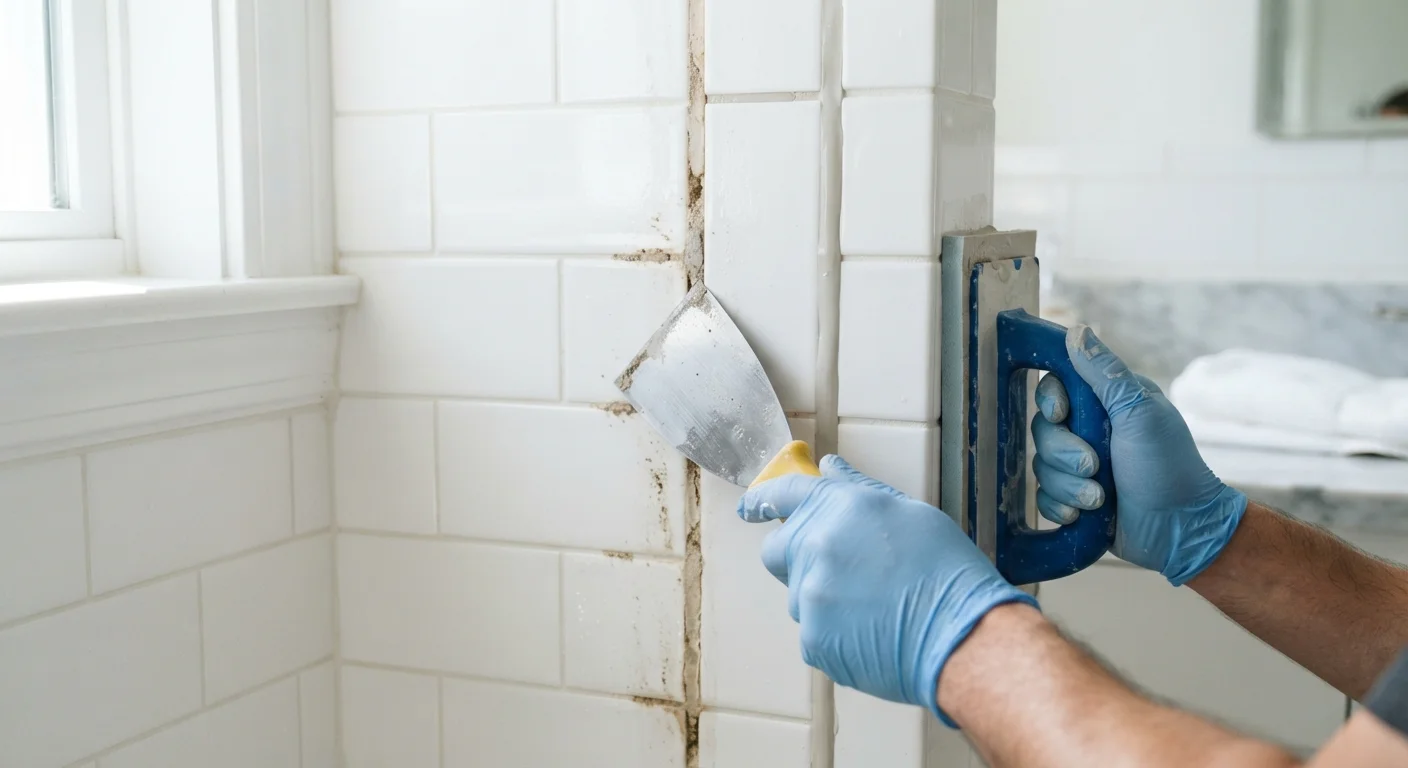
Using a manual grout rake or an oscillating multi-tool fitted with a grout-removal blade, work carefully along each joint to remove old grout to a depth of at least 2-3mm. Keep the tool angled toward the centre of the joint to avoid chipping tile edges.
Work methodically in sections. Once raked, use a dry brush or vacuum to remove all loose dust and debris from the joints.
Clean and dry the tile surface
Wipe all tile faces and open joints with a damp cloth to remove dust, then allow the surface to dry completely. Any moisture trapped in the joints will compromise how well the new grout bonds and cures.
If there is visible mould on or around the grout, treat it with a household mould-and-mildew remover, rinse thoroughly, and allow extra drying time - at least several hours - before continuing.
Mix the grout
Choose the correct grout type: sanded grout for joints wider than approximately 3mm, and unsanded grout for narrower joints. Follow the manufacturer's mixing instructions precisely - the ratio of powder to water matters significantly for strength and workability.
Mix to a smooth, peanut-butter-like consistency with no dry lumps. Let it rest (slake) for the time specified on the packaging, then stir once more before use. Mix only as much as you can apply within about 30 minutes.
Apply the grout
Scoop grout onto the grout float and hold it at roughly a 45-degree angle to the wall. Work the grout firmly into the joints using diagonal sweeping strokes, ensuring no air pockets remain. Cover a manageable section - about one square metre - before moving on.
Do not worry about covering the tile faces entirely at this stage; the focus is on fully packed joints.
Clean the tile faces and finish
Once grout has been applied to a section, wait for the time indicated on the packaging (typically 15-30 minutes) until it begins to firm up but is not yet hard. Use a damp - not soaking wet - sponge to wipe the tile faces in circular motions, rinsing the sponge frequently.
A light haze will remain on the tiles as they dry. Once fully cured (usually 24 hours), buff this away with a dry cloth. Run a damp finger or rounded tool along the joints for a neat, slightly recessed finish.
Seal the grout
After the grout has fully cured - typically 48-72 hours, though check your product's instructions - apply a grout sealer using a small brush or applicator bottle. Work along each joint carefully, wipe any excess off the tile faces promptly, and allow to dry per the sealer's instructions.
Sealing is especially important in shower areas, where constant moisture exposure accelerates staining and mould growth.
Avoid Grouting Around Moving Joints
The junction between the wall tiles and the bathtub or shower tray is a movement joint - it flexes as surfaces expand and contract. Never fill this gap with grout. Use a flexible, mould-resistant silicone sealant instead, and replace it separately if it has deteriorated.
Match Your Grout Colour Carefully
Grout colours can look quite different wet versus dry. Always check the dried colour on the packaging before purchasing, and if you're patching a section rather than the whole wall, bring a tile sample to compare in-store. Mismatched grout stands out sharply on finished walls.
Keeping Re-Grouted Tiles Looking Good
Once complete, a few simple habits will extend the life of your new grout significantly. Run the bathroom fan or open a window during and after showers to reduce humidity. Wipe down tile surfaces after use in high-moisture areas. Re-apply grout sealer annually in shower zones.
If discolouration returns despite sealing, a grout-specific cleaner (available at most hardware stores) can restore appearance without the need for full removal. The same attention to surface preparation that makes re-grouting successful also applies to other refresh projects around the home - as with achieving a seamless finish on repainted walls, the groundwork matters more than the final layer.