
Why Tyre Neglect Is an Expensive Habit
Tyres are the only part of your car that actually contacts the road, which makes their condition a leverage point for nearly every other cost: fuel consumption, brake wear, suspension stress, and safety outcomes. Yet tyre maintenance is one of the most deferred tasks among everyday drivers - partly because degradation is gradual and partly because the consequences aren't always immediately obvious.
The numbers make the case plainly. The US Department of Energy has noted that underinflation can reduce fuel economy by roughly 0.2% for every 1 PSI that all four tyres drop below their recommended level - and most drivers are running low without knowing it. Multiply that across thousands of miles and you're leaving real money at the pump. For more on what correct inflation does for your budget, see our guide on tyre pressure and fuel costs.
Worn tyres also put downstream components under extra stress. When grip is reduced, braking requires more distance and more effort from your brake system - accelerating pad and rotor wear. Misaligned or unevenly worn tyres can stress steering and suspension bushings. A $20 rotation skipped five times can contribute to a $300 premature brake job. This is the same compounding logic behind why deferred maintenance generally costs more in the long run.
Check Pressure When Tyres Are Cold
Tyre pressure readings rise as the tyre heats up from driving - even a short trip can add 4-6 PSI temporarily. Always check pressure before driving or after the vehicle has been parked for at least three hours. Your target pressure is printed on the driver's door jamb sticker, not the maximum figure moulded into the tyre sidewall.
The good news: the core tyre maintenance tasks - pressure checks, tread inspections, and rotation scheduling - require minimal tools, minimal time, and almost no mechanical skill. The steps below walk through each one.
Bald Tyres Are a Safety Risk, Not Just a Cost Issue
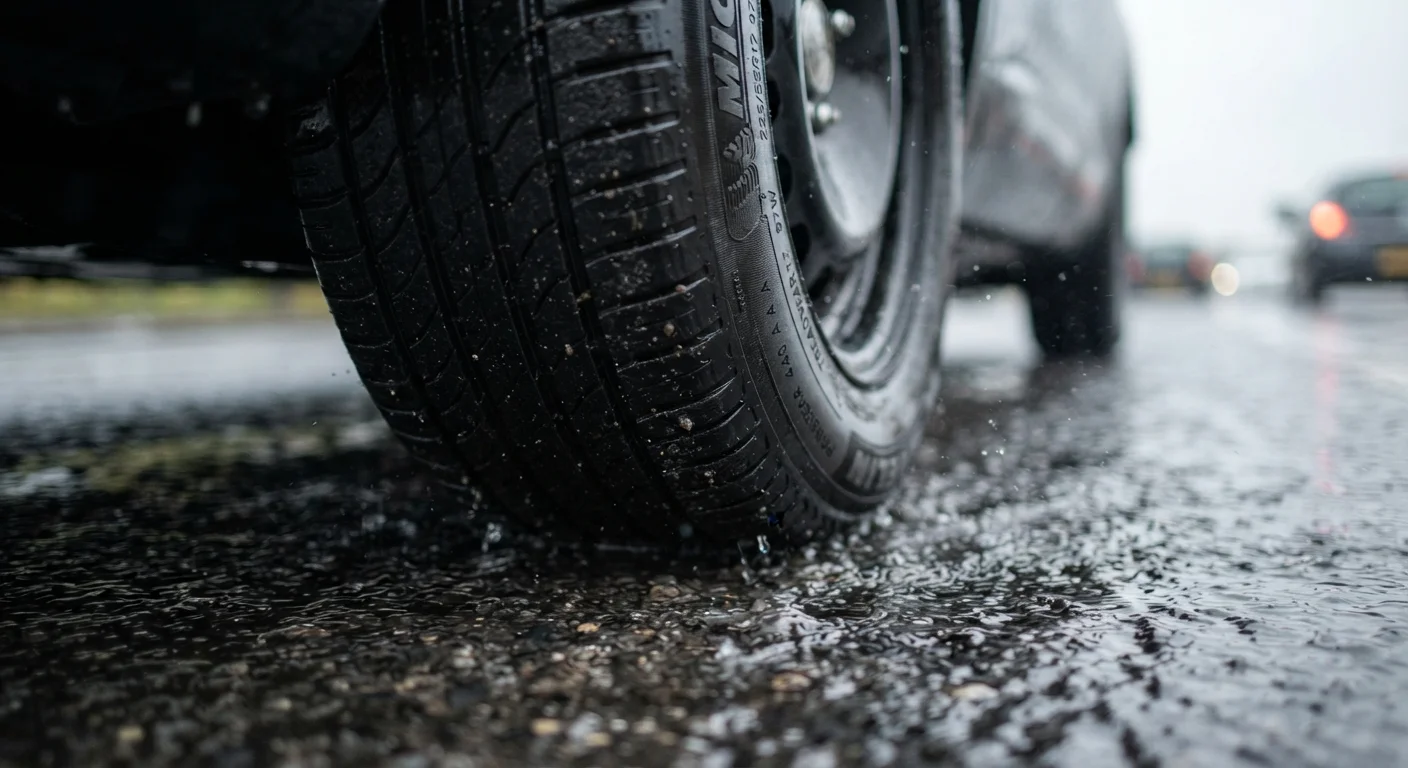
Tyres worn below 2/32 of an inch of tread depth cannot reliably channel water away from the contact patch, dramatically increasing hydroplaning risk on wet roads. Braking distances increase substantially with worn tread - a difference that can determine whether you stop in time. Do not delay replacement once tyres reach the wear indicator bars; this is one maintenance item where deferring genuinely creates danger.
How to Maintain Your Tyres: Step-by-Step
Before you start, gather what you need and park on a flat, stable surface with the engine off.
What you will need
Digital tyre pressure gauge
Accurately measures tyre inflation so you can correct pressure to the manufacturer's specification.
Air compressor or petrol station pump
Adds air to underinflated tyres after measurement.
US quarter or penny
Used for a quick DIY tread-depth check to determine if replacement is approaching.
Tyre tread depth gauge
Gives a more precise tread measurement than a coin, useful if you want an exact reading in 32nds of an inch.
Flashlight or phone torch
Helps you inspect the sidewall and inner tyre surface for cuts, bulges, or cracking.
Find your correct tyre pressure target
Before touching a gauge, locate your vehicle's recommended tyre pressure. Open the driver's side door and look for a sticker on the door jamb - it lists the front and rear target pressures in PSI for your specific vehicle and tyre size. This figure, not the maximum PSI moulded on the tyre sidewall, is what you're aiming for. If the sticker is missing, check your owner's manual.
Check tyre pressure on cold tyres
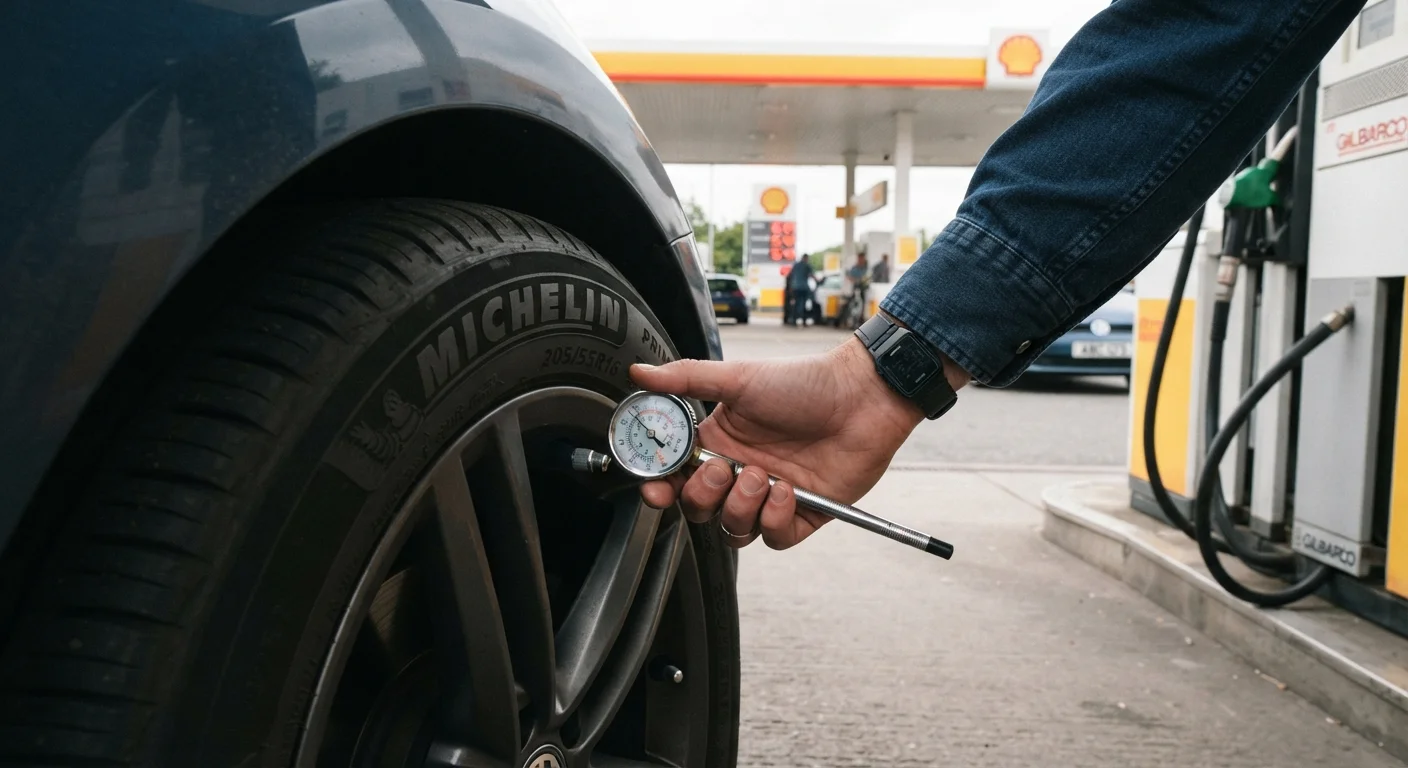
Remove the valve cap from the first tyre's stem and press your gauge firmly onto the valve. The gauge will display a PSI reading. Record it, then repeat on all four tyres plus the spare if your vehicle carries a full-size spare. Compare each reading to your target pressure from Step 1.
Inflate or deflate to target pressure
If any tyre is below target, add air using a compressor or petrol station pump, checking pressure every few seconds to avoid overfilling. If a tyre is overinflated, depress the small pin inside the valve stem with the back of the gauge or a pen tip to release air in short bursts, rechecking frequently. Replace all valve caps when done - they prevent dust and moisture from entering the valve core.
Perform the quarter tread-depth test
Insert a US quarter into the tread groove with Washington's head pointing downward. If you can see the top of Washington's head, your tread is at or below 4/32 of an inch - the point at which wet-weather performance degrades noticeably and replacement planning should begin. Using a penny instead: if you can see the top of Lincoln's head, tread is at or below 2/32 of an inch, which is the legal minimum in most US states and means replacement is urgent. Check multiple grooves across the tyre width and at several points around the circumference, since uneven wear can mean some spots are more worn than others.
Inspect sidewalls and overall tyre condition
With a flashlight, examine the full sidewall surface on each tyre - including the inner sidewall if you can safely angle a look. Look for cuts, embedded objects, cracking (fine surface cracks that appear with age), or any bulge or blister on the sidewall surface. A bulge indicates the internal cords have failed and the tyre is at risk of blowout. Any of these findings warrant a visit to a qualified tyre technician rather than a DIY fix.
Schedule rotation based on your mileage
Most vehicle manufacturers recommend rotating tyres every 5,000-7,500 miles, though your owner's manual gives the precise interval. Rotation moves tyres to different axle positions so they wear evenly across all four, extending the full set's usable life. Many oil change facilities include a rotation, making it easy to bundle the two services. For a deeper explanation of what rotation, balancing, and alignment each involve - and why drivers often confuse them - see our breakdown of tyre rotation, balancing, and alignment.
Once you've worked through these steps, record your readings and the date in a simple note on your phone. Consistency matters more than perfection - checking monthly and before long trips catches problems before they become expensive. Your owner's manual is the authoritative source for your vehicle's specific intervals; the maintenance schedule section most drivers skip is worth a read if you haven't consulted it yet.
Don't Rely on Visual Inspection Alone
A tyre can look acceptable from a distance while being dangerously underinflated or having internal sidewall damage invisible to the eye. Always use a calibrated pressure gauge - not just a glance - and inspect the full sidewall surface, including the inner sidewall, for cuts, bulges, or cracking. Sidewall bulges indicate internal structural failure and require immediate attention from a qualified tyre technician.
If you notice brake-related symptoms - pulling, squealing, or longer stopping distances that seem tyre-related - it's worth checking both systems together. See how to recognise early brake wear for what to look and listen for.