
Why a Running Toilet Costs More Than You Think
A toilet that runs continuously isn't just an annoying background sound - it's money draining directly from your wallet. A moderate leak can waste roughly 200 gallons of water per day, which translates to thousands of gallons per month added to your water bill. For households on metered water, this is a real and measurable expense that compounds every day the problem is ignored.
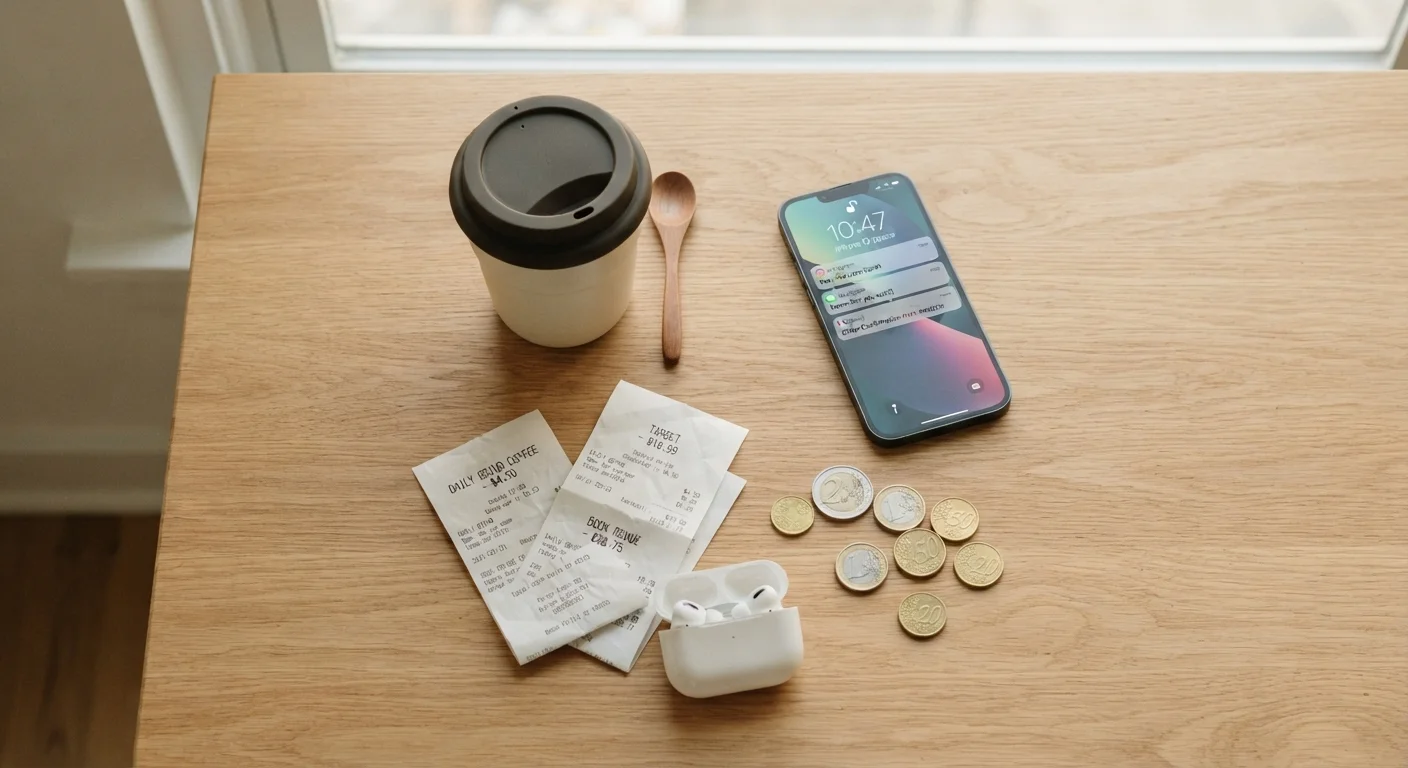
Running toilets are also one of the most common sources of hidden household waste. Unlike a dripping faucet you can see, a slow toilet leak often goes unnoticed until the bill arrives. This kind of spending leak fits right alongside the everyday costs covered in our guide to small purchases that quietly drain your budget - low-visibility costs that add up faster than expected.
The good news: the three most common causes of a running toilet - a worn flapper, a misadjusted float, or a failing fill valve - are all inexpensive and beginner-friendly to fix.
Adjustable pliers
Used to disconnect the water supply line and remove the fill valve if replacement is needed.
Replacement flapper
Seals the tank drain; the most common cause of a running toilet and costs around $5-$10.
Replacement fill valve
Regulates water entering the tank after each flush; replace if adjustment alone doesn't resolve the issue.
Sponge or small towel
Soaks up residual water in the tank after shutting off the supply.
Food coloring
Used to diagnose a leaking flapper without disassembly.
What You'll Need and What to Expect
Before lifting the tank lid, gather your materials. Most repairs require nothing more than a replacement flapper (typically $5-$10), basic hand tools, and about 30 minutes. A full fill valve replacement adds modest cost and perhaps 15 extra minutes.
What you will need
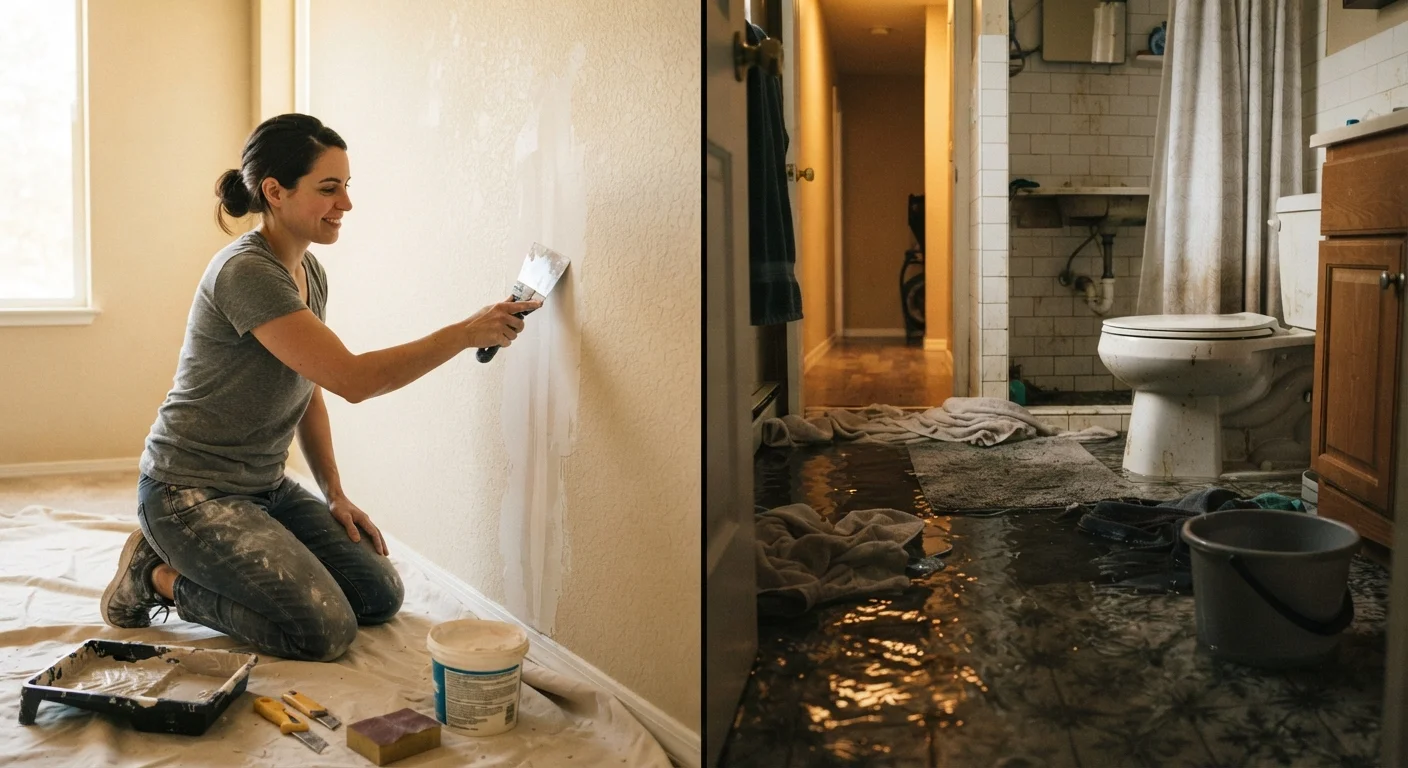
For broader context on which home repairs genuinely pay off versus which ones risk creating a bigger problem, see our realistic guide to DIY versus professional repairs. A running toilet sits firmly in DIY territory - but read the important note below before you start.
Know When to Call a Professional
This repair is suitable for most homeowners when the issue is confined to the tank components. If you notice cracks in the porcelain, water pooling at the base of the toilet, or signs of a supply-line leak behind the wall, stop and contact a licensed plumber. Structural or supply-line issues can cause serious water damage if left to a DIY fix.
Step-by-Step: Fixing Your Running Toilet
Turn Off the Water Before You Start
Always shut off the water supply valve - located on the wall behind or below the toilet - before removing any tank components. Skipping this step can result in an overflow. If the valve is stiff or corroded and won't turn, call a plumber rather than forcing it.
Diagnose the cause
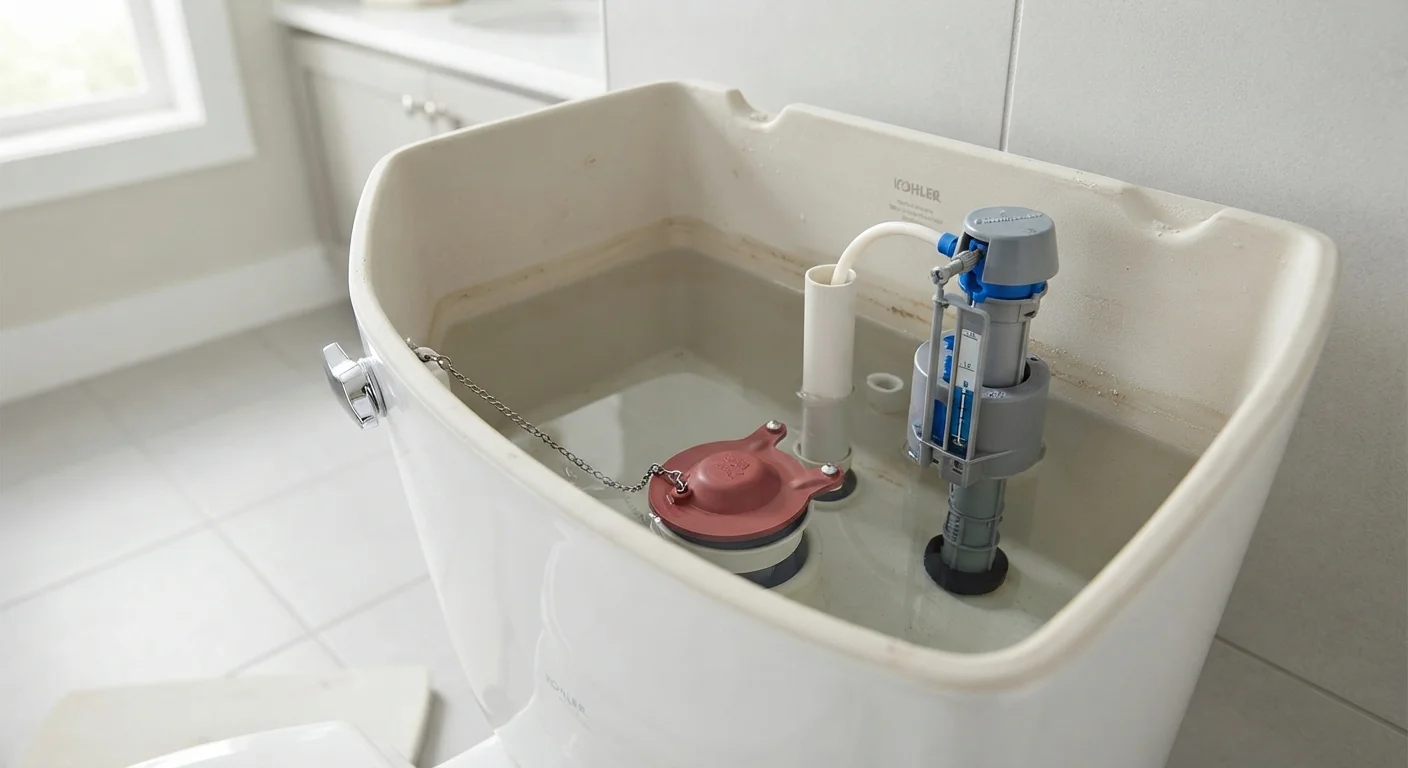
Remove the tank lid and set it safely aside. Listen and observe. If water is trickling into the bowl, the flapper is likely the culprit. If water is running into the overflow tube - the tall vertical pipe in the center of the tank - the float is set too high. Run the food coloring test to confirm a flapper leak if you're unsure.
Shut off the water supply
Turn the shutoff valve clockwise until it stops. Flush the toilet to empty the tank, then use a sponge to remove any remaining water from the bottom. This keeps your work area dry and prevents spills.
Inspect and replace the flapper
Unhook the flapper from the pegs on either side of the overflow tube and disconnect the chain from the flush handle arm. Examine the flapper rubber - if it feels stiff, warped, or has visible mineral buildup, it needs replacing. Match the old flapper to a replacement (most are universal, but some toilets require brand-specific flappers). Snap the new flapper onto the overflow tube pegs and reattach the chain, leaving about half an inch of slack.
Adjust or replace the fill valve and float
If the float is set too high, water spills into the overflow tube and the tank never signals it's full. On a ball-float style, bend the float arm gently downward or turn the adjustment screw. On a cup-float style (the more common modern design), pinch the clip on the side of the fill valve and slide the float down the shaft. The water level should sit about one inch below the top of the overflow tube. If the fill valve hisses, drips, or fails to shut off even after adjustment, replace it - kits are widely available and installation takes about 15 minutes.
Restore water and test
Slowly turn the supply valve back on and allow the tank to fill. Watch and listen for a full minute after the tank reaches its fill line. Flush once and observe the full cycle. If the bowl is quiet and the tank stops filling at the correct level, the repair is complete. Repeat the food coloring test 24 hours later to confirm no slow leak remains.
Use Food Coloring to Confirm a Flapper Leak
Drop a few drops of food coloring into the tank and wait 10 minutes without flushing. If color appears in the bowl, your flapper is leaking - even if you can't hear it. This test catches slow leaks that silently waste water and inflate your bill.
Keeping Water Costs Down Beyond the Bathroom
Once your toilet is quiet, it's worth thinking about water use across the rest of your home. Outdoors, smart habits like timing irrigation and using mulch can reduce garden water use noticeably - see our guide to watering your garden without watching your bill climb for practical methods that work whether you're on a meter or managing drought restrictions.
Indoors, slow drains are another common issue that homeowners often pay to fix unnecessarily. Diagnosing a slow drain yourself before calling a plumber can save a service call fee on what is usually a straightforward blockage. Small repairs like these, handled promptly, are among the most effective ways to keep household costs predictable and under control.