
What You'll Need Before You Start
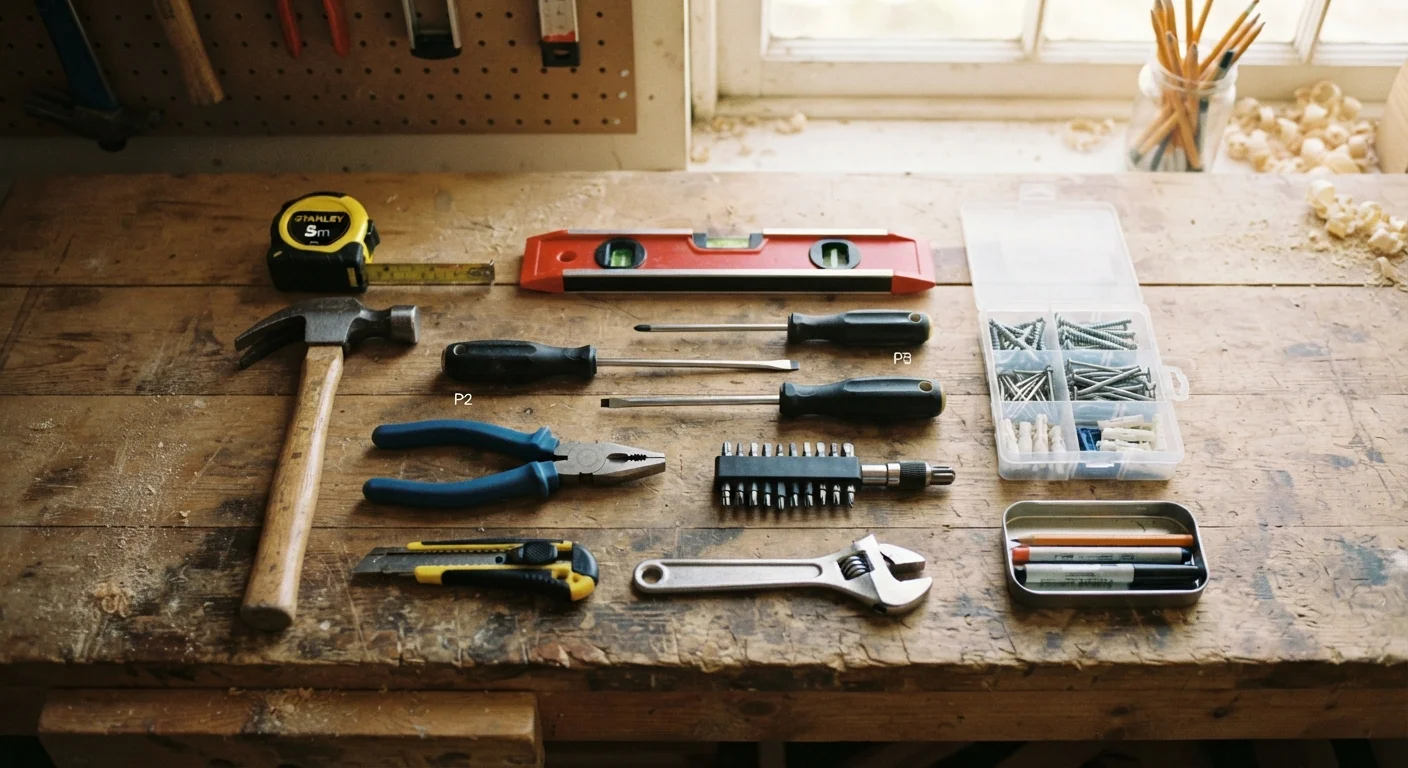
Gathering the right materials upfront saves frustrating mid-project trips to the hardware store. For most small and medium holes, the supplies are inexpensive and many households already own several of them. If you're still building out your repair kit, our DIY repair toolkit guide covers exactly what's worth keeping on hand.
What you will need
Putty knife or drywall knife (4-6 inch)
Applies and smooths joint compound over the patch area.
Lightweight joint compound (pre-mixed)
Fills the hole and is built up in thin coats to create a flat, smooth surface.
Self-adhesive mesh patch (for holes ½-3 inches)
Bridges the gap and provides a surface for joint compound to bond to.
Scrap drywall piece (for California patch method)
Creates a rigid backing for medium-sized holes without needing screws or a backing board.
120- and 220-grit sandpaper or sanding block
Smooths each dried coat of compound and feathers the edges into the surrounding wall.
Primer (drywall or all-purpose)
Seals the patched area so topcoat paint absorbs evenly and doesn't flash.
Damp sponge or texture spray
Replicates the existing wall texture on the patch before painting.
Choosing the Right Patching Method
Not every hole calls for the same fix. Matching your method to the damage size is the difference between a clean repair and a bulging, cracked mess a week later.
- Nail holes and hairline cracks (under ½ inch): A thin coat of spackling compound or lightweight joint compound, applied with a finger or small putty knife, is all that's needed.
- Small holes (½ inch to 3 inches): A self-adhesive mesh patch works well here. It spans the gap and gives the joint compound something to grip.
- Medium holes (3 to 6 inches): A California patch - cut from a scrap piece of drywall with its paper backing left intact - provides a sturdy backing without needing additional hardware.
Holes larger than roughly 6 inches generally require cutting back to studs and installing a proper backing board. That's still a DIY-able job, but it goes beyond this guide's scope. See our guide on when DIY saves money to decide whether to tackle larger damage yourself.
Don't Patch Over Moisture Damage
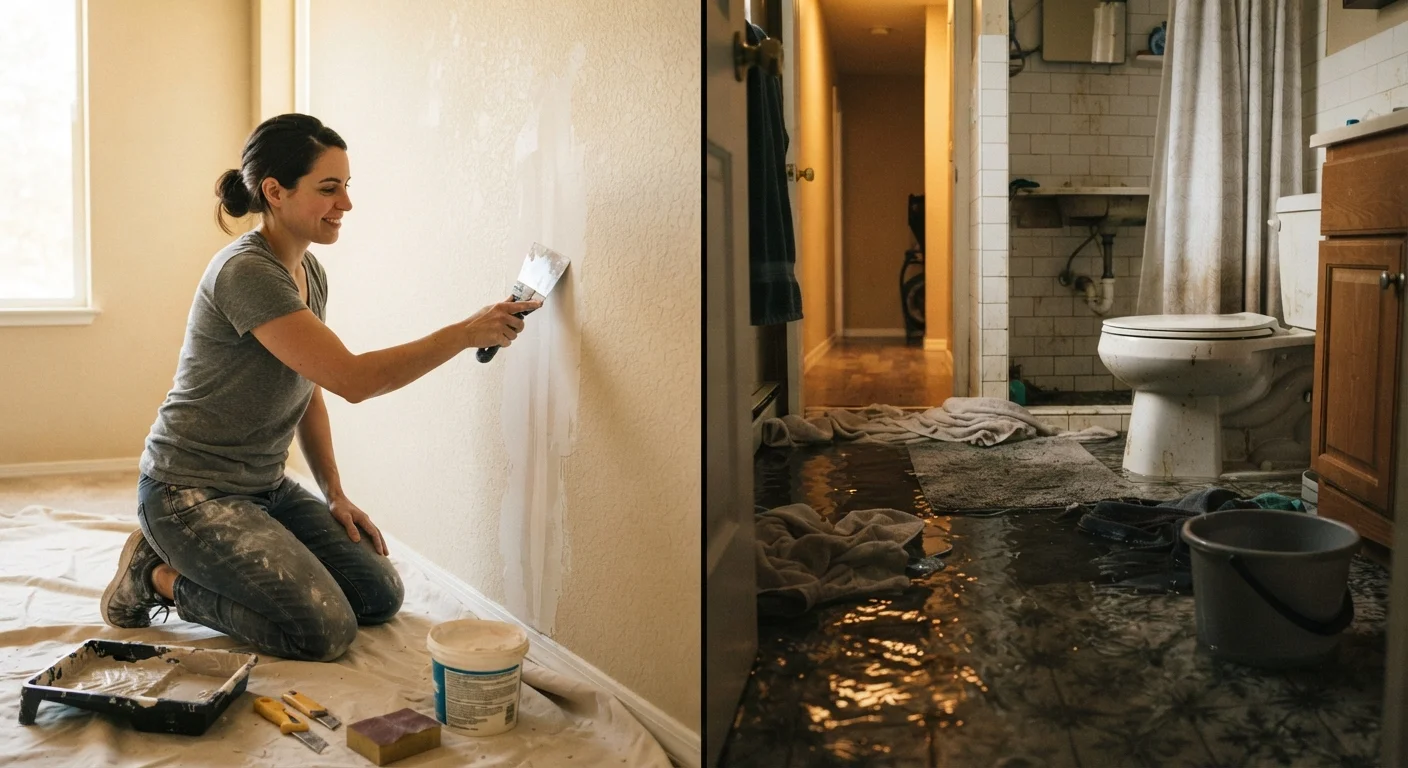
If the hole or surrounding drywall feels soft, shows staining, or has visible mold, patching over it will not solve the underlying problem. Wet or mold-affected drywall needs to be cut out and replaced, and the moisture source must be addressed first. Sealing moisture inside a wall can lead to structural damage and air-quality issues over time. When in doubt, consult a licensed contractor or building inspector.
Step-by-Step: Patching the Hole
Follow these steps in order. Skipping stages - especially drying time - is the most common reason patches fail or look obvious after painting.
Clean and prep the damaged area
Use your putty knife to scrape away any loose paper, crumbling drywall edges, or paint flaps around the hole. The patch compound needs to bond to solid material - any debris left around the edge will cause it to peel or crack later. Wipe the area with a dry cloth to remove dust.
Apply your backing or patch material
For holes under ½ inch, skip this step and go straight to applying compound. For holes between ½ inch and 3 inches, peel the backing off a self-adhesive mesh patch and press it firmly over the hole, centered. For medium holes (3-6 inches), use the California patch method: cut a drywall piece slightly larger than the hole, score the back side only, snap the gypsum core away, and peel it off - leaving a paper flap on each side. Fit the remaining drywall core into the hole and use the paper flaps as bonding tabs against the surrounding wall surface.
Apply the first coat of joint compound
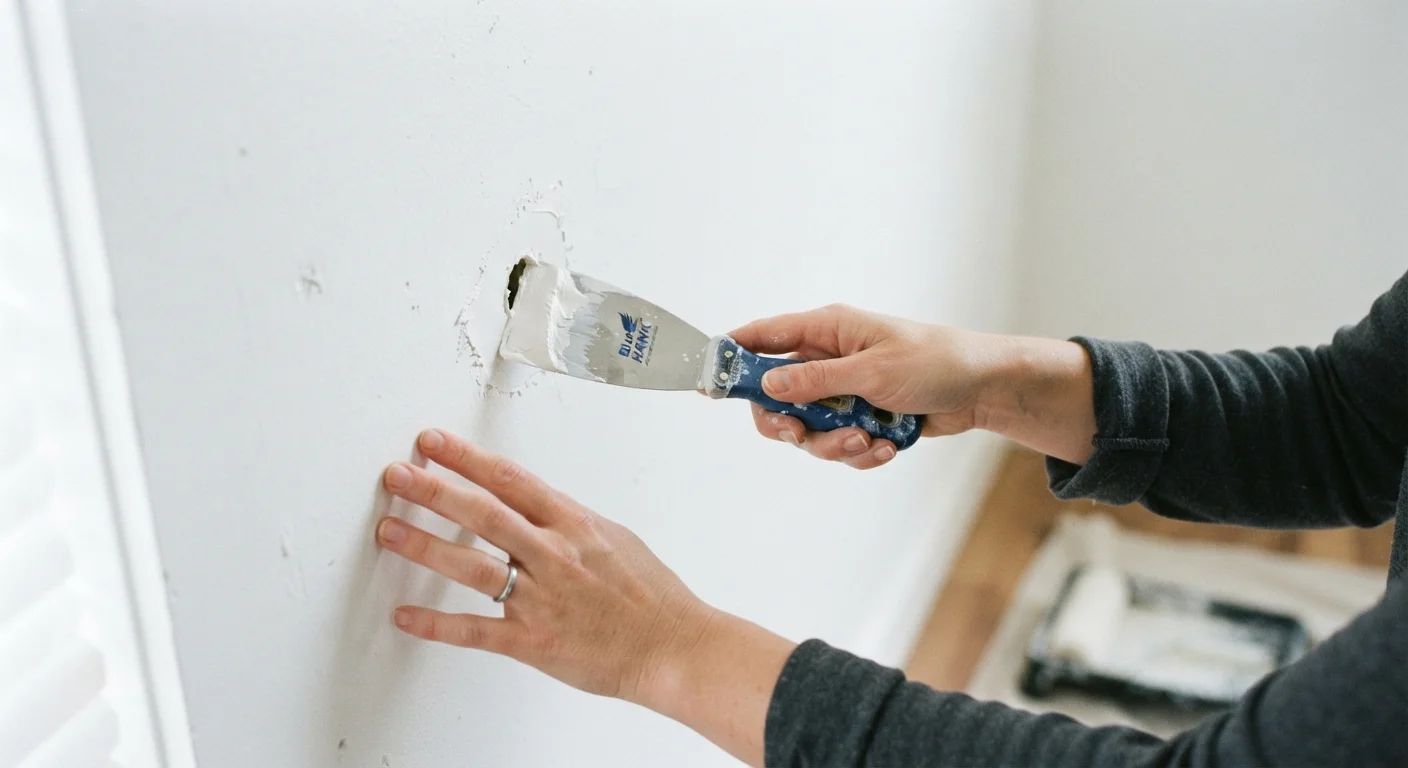
Load your putty knife with a modest amount of pre-mixed lightweight joint compound. Apply it over the patch in smooth, overlapping strokes, pressing it firmly into the mesh or against the paper flap edges. Extend the compound 2-3 inches beyond the patch perimeter and feather the edges as thinly as possible. The first coat doesn't need to be perfect - it just needs to fill and cover.
Let it dry completely, then sand
Joint compound dries white and fully opaque when ready - any gray or dark areas mean it's still wet. Drying typically takes 4-8 hours depending on coat thickness and room humidity, but overnight is safer. Once dry, sand lightly with 120-grit sandpaper, then follow with 220-grit for a smoother finish. Wipe away dust with a dry cloth before adding the next coat.
Apply a second (and if needed, third) coat
Repeat the application process with a wider, thinner coat each time - extending an additional 1-2 inches beyond the previous coat's edge. Two coats are usually enough for small holes; medium holes may need three. The goal is a surface that feels flush with the surrounding wall when you run your hand across it, with no raised edges or ridges.
Prime and prepare for paint
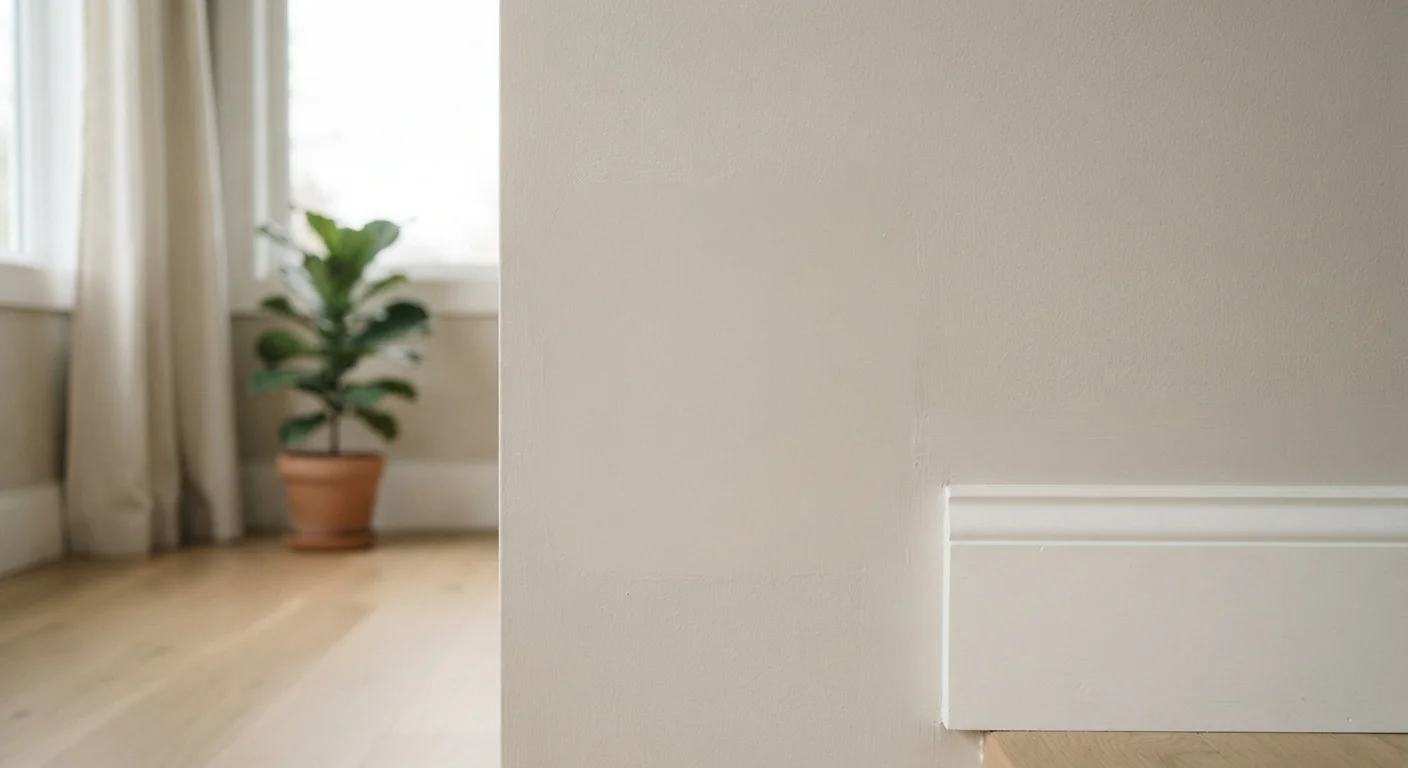
Once the final coat is sanded smooth and dust-free, apply a coat of drywall primer to the patched area, extending it a few inches onto the surrounding wall. Allow the primer to dry fully. If the existing wall has a texture (orange peel, knockdown, etc.), replicate it now using a damp sponge or texture spray before painting. Then paint to match - you may need two topcoats for full coverage over the patched area.
Once the final coat is sanded smooth, you're ready for texture matching and paint. That finishing stage is covered in detail in our guide to getting an invisible finish - it's where most DIYers go wrong, and it's worth reading before you open the paint can.
Common Mistakes to Avoid
Even a simple drywall patch can go sideways with a few common missteps. Watch out for these:
- Applying compound too thick in one coat. Thick coats crack as they shrink while drying. Thin layers - even three or four of them - produce a far stronger, smoother result.
- Sanding too aggressively. Bearing down hard on the sanding block can scuff the paper face of surrounding drywall, which then absorbs paint unevenly and shows through even after multiple coats.
- Skipping primer before painting. A patched area is more porous than the surrounding wall. Without primer, the topcoat soaks in differently and creates a visible dull spot - called flashing - even if the paint color matches perfectly.
- Ignoring existing wall texture. Smooth compound on a textured wall stands out immediately. Light stippling with a damp sponge or a quick pass with a texture spray can replicate common finishes like orange peel or knockdown.
For more on mistakes that turn small problems into bigger ones, see common DIY repair myths - several apply directly to drywall work.
Save Leftover Compound for Touch-Ups
Seal unused joint compound tightly with plastic wrap pressed directly against the surface before closing the lid - this prevents a hard crust from forming. Stored this way, it can last several months. Having a small amount ready means you can address new nail holes or dings quickly, before they become more noticeable.