
The DIY Calculation Most People Get Wrong
The appeal of doing it yourself is obvious: skip the labor charge, handle it on your schedule, and feel the satisfaction of solving your own problem. But the financial math only works when the repair goes right. Factor in the cost of mistakes - replacement materials, additional damage, or an emergency professional call - and a botched DIY can cost two to three times more than hiring someone from the start.
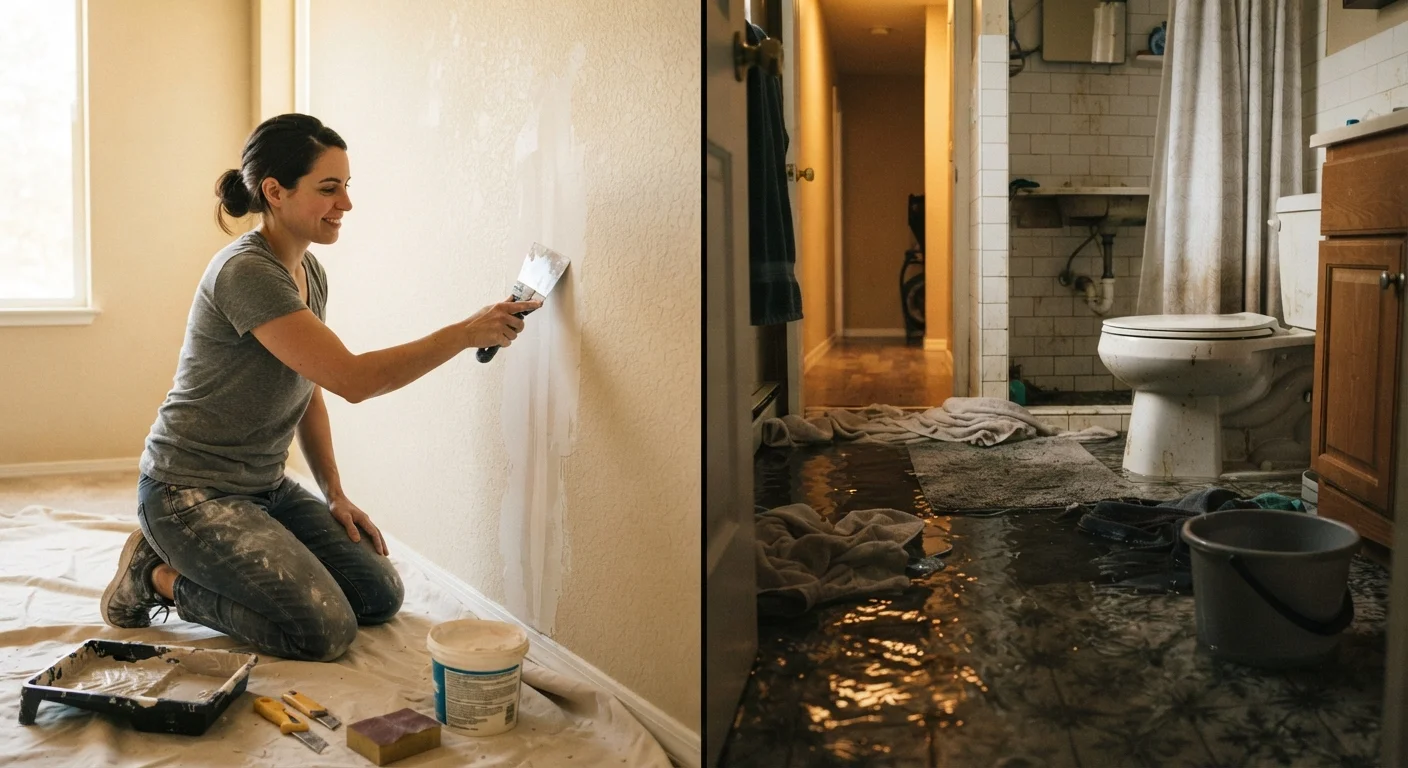
The key question isn't "Can I technically do this?" It's "What happens if I get it wrong?" For a patched drywall hole, a bad outcome means re-patching. For a supply line under a sink, a bad outcome can mean soaked cabinets, warped flooring, and mold remediation. Understanding that risk gap is what separates smart DIY from expensive overconfidence. See our common DIY repair myths that quietly cost homeowners more than they save.
Repairs That Genuinely Save Money as DIY
Certain household tasks have a strong DIY case: materials are inexpensive, tutorials are widely available, and a mistake is fixable without cascading damage.
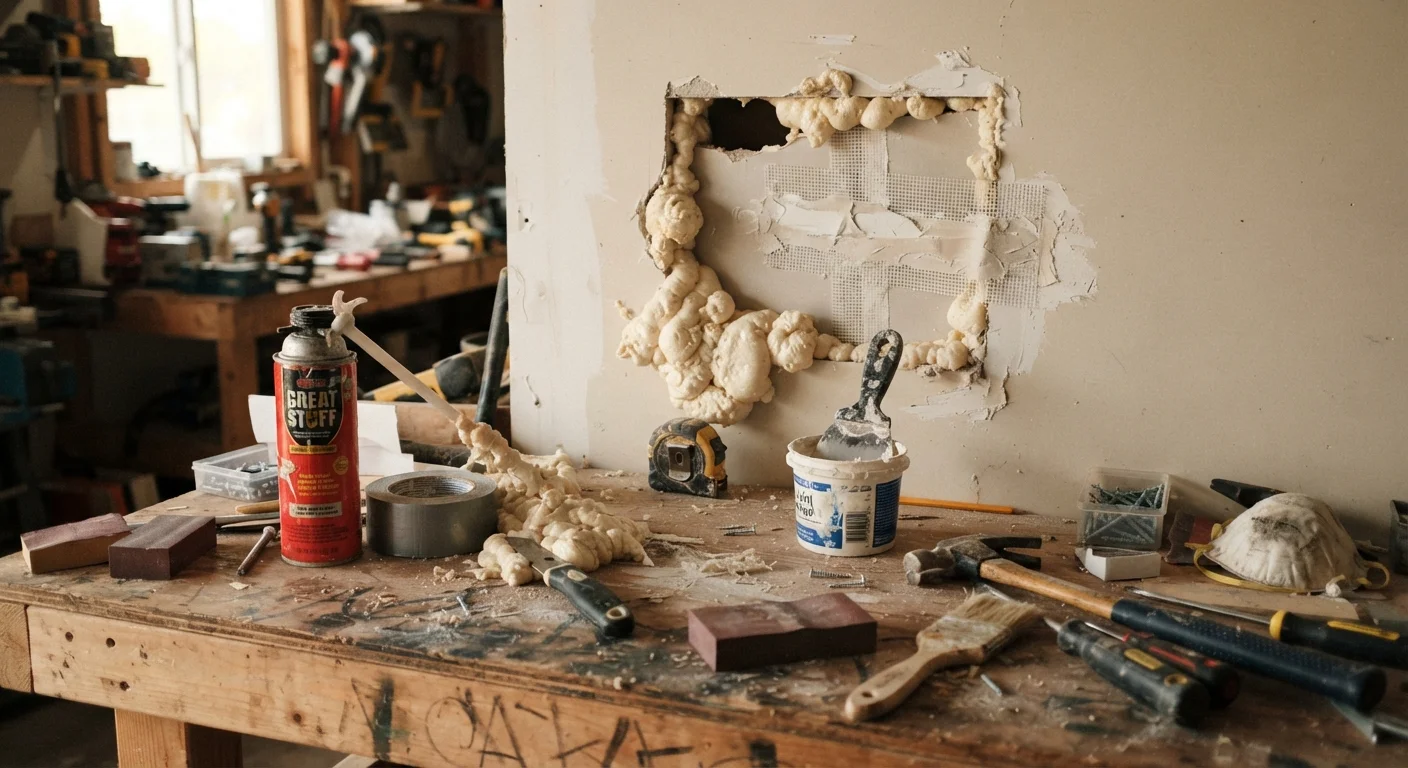
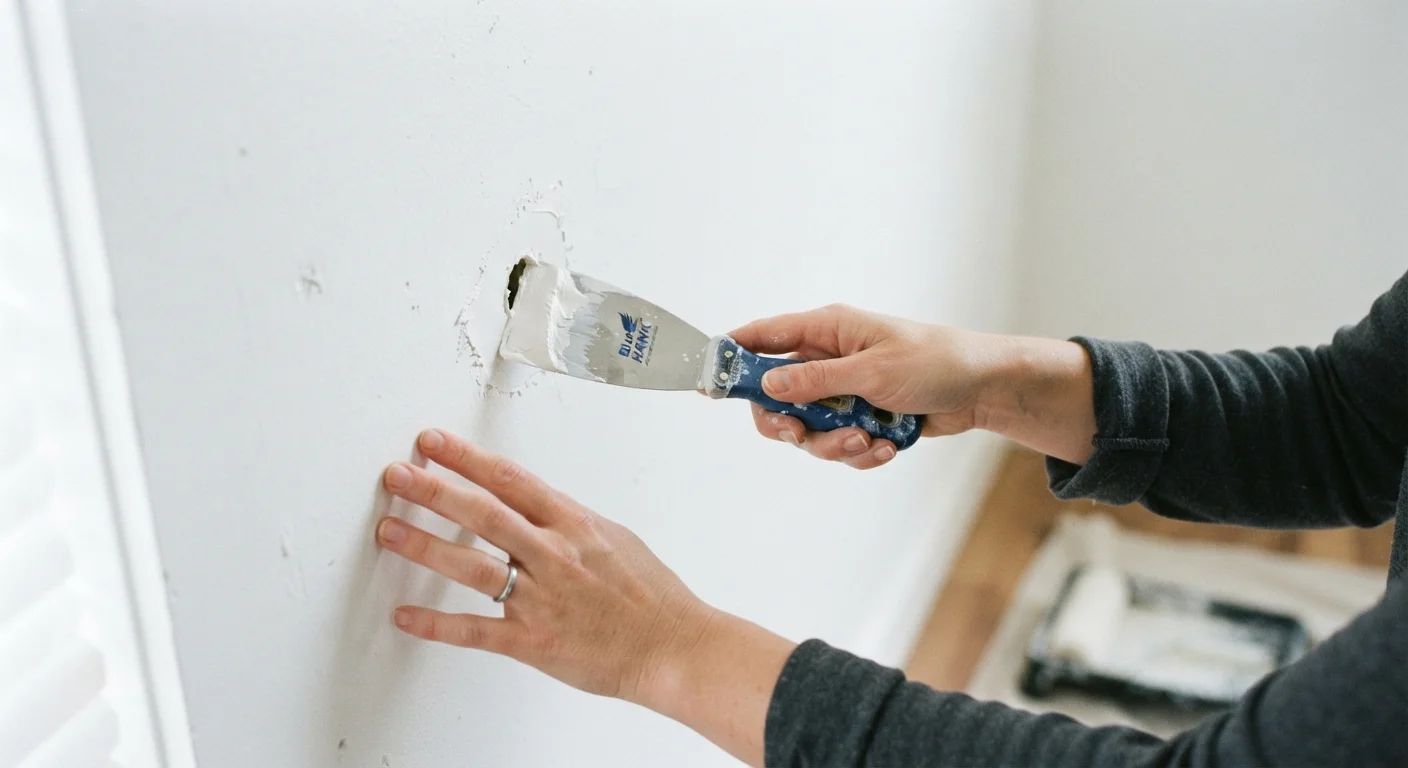
- Patching small drywall holes: A mesh patch kit and a tub of joint compound typically cost under $15. Professional drywall repair for a small hole can run $75-$150 in labor alone. Our guide on patching a drywall hole without calling a pro walks through the process step by step.
- Caulking around tubs, sinks, and windows: A tube of caulk costs a few dollars. Done correctly, recaulking prevents moisture intrusion that leads to much costlier rot and mold repairs.
- Replacing door hardware and interior fixtures: Swapping a doorknob, light switch cover, or cabinet hinge requires basic tools and no specialized knowledge.
- Unclogging drains: A drain snake and some elbow grease handles most sink and tub clogs without a plumber's visit.
- Touch-up painting and sealing: Cosmetic work where errors are visible but easily corrected.
| Repair Type | DIY Feasibility | Typical DIY Cost | Pro Cost Range | Risk if Done Wrong | |
|---|---|---|---|---|---|
| Small drywall patch | High | ~$10-$20 | $75-$150 | Cosmetic redo | |
| Caulking tubs/windows | High | ~$5-$15 | $50-$100 | Minor moisture intrusion | |
| Drain unclogging | Moderate | ~$10-$30 | $100-$200 | Pipe damage if forced | |
| Electrical wiring | Low - permit often required | Variable | $150-$500+ | Fire, code violation | |
| Gas line work | Not recommended | N/A | $200-$600+ | Gas leak, explosion risk | |
| Main plumbing line | Low | Variable | $500-$2,000+ | Flooding, mold, structural damage |
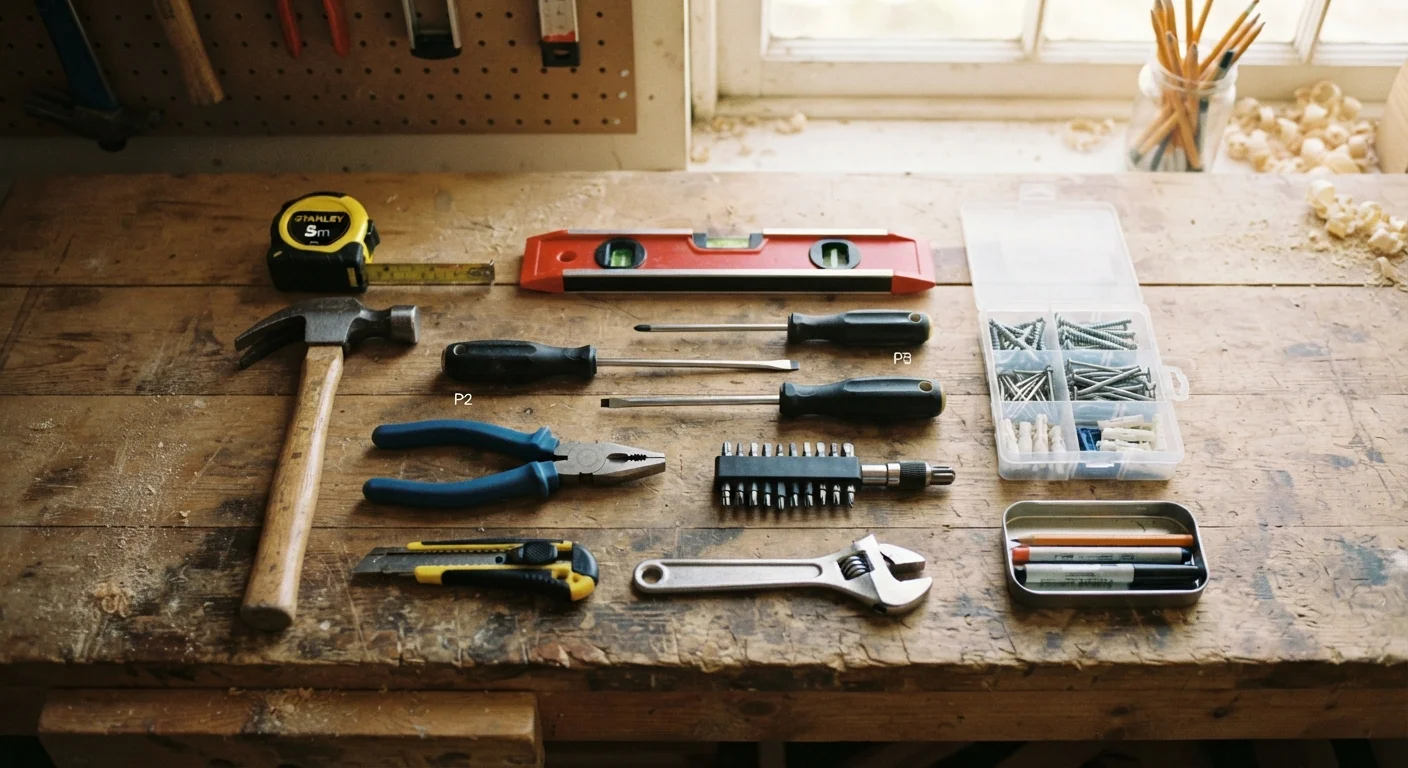
Before you start any project, make sure you have the right equipment. Our rundown of the DIY repair toolkit covers exactly what's worth owning.
When Calling a Pro Is the Smarter Financial Move
Some repairs carry consequences that go beyond the task itself - legal, structural, or safety consequences that make DIY a liability rather than a saving.
Permits Aren't Optional - They're Protection
Skipping a required permit might feel like a shortcut, but unpermitted work can void your homeowner's insurance for related claims, trigger fines, and create problems when you sell the home. Always verify local requirements with your municipal building department before starting any electrical, plumbing, or structural project.
- Electrical work beyond outlet covers: Wiring errors cause fires. Most jurisdictions require permits and licensed electricians for panel work, new circuits, or anything beyond straightforward fixture swaps. Unpermitted work can also void homeowner's insurance and complicate home sales.
- Gas line repairs or appliance connections: Gas leaks are life-safety issues. Always use a licensed plumber or gas technician.
- Roof repairs beyond minor patching: Working at height carries serious injury risk, and improper repairs can void roofing warranties or accelerate damage.
- Structural or load-bearing modifications: Removing walls or altering supports without engineering guidance can compromise a home's integrity.
- Main water supply or sewer line issues: Mistakes here affect the whole home and can cause flooding measured in thousands of dollars of damage.
Delaying these repairs makes things worse, not better. Our article on repairs homeowners delay too long shows how quickly neglect compounds into larger bills.
How to Assess a Repair Before You Start
Run through this four-part check before committing to any DIY project:
- Scope the failure mode: If something goes wrong mid-repair, what's the worst realistic outcome? Cosmetic problem vs. structural or water damage is the critical line.
- Check local permit requirements: Many repairs - especially electrical and plumbing - require permits in most US municipalities. Check with your local building department before starting; unpermitted work can create legal and insurance issues.
- Honestly assess your skill and tools: Watching a tutorial is not the same as having hands-on experience. If you're missing a specialized tool or the technique is new to you, factor in the learning curve. See the complete beginner's starting point for DIY home repairs for an honest baseline.
- Get a professional quote first: Even if you plan to DIY, knowing the professional price anchors your expectations. Sometimes the quote is lower than expected - and the risk isn't worth the savings.
Renters face an additional layer: your lease may prohibit certain repairs entirely, regardless of skill level. Review what every renter should know before attempting a home repair before picking up a tool.