
Why Air Leaks Matter for Your Energy Bill
Gaps around doors and windows are among the most common - and most fixable - sources of energy waste in homes of all ages. When conditioned air escapes or outdoor air seeps in, your heating and cooling system works harder to maintain temperature, which shows up directly on your utility bill. Older homes tend to have more gap-related loss, but even newer construction can develop cracks as materials expand, contract, and settle over time.
The good news: sealing these leaks is a genuinely beginner-level project that requires modest materials and a few hours at most. It pairs well with other efficiency upgrades - insulation improvements, for instance, address heat transfer through walls and ceilings rather than through gaps - but draught-sealing is often the fastest, lowest-cost intervention available.
Test on a Windy Day for Best Results
Air leaks are much easier to detect when outdoor wind pressure is higher. Schedule your draught inspection on a breezy day and close all windows, doors, and fireplace dampers first to create the clearest pressure difference. This makes even small leaks obvious.
Before gathering supplies, it helps to know exactly what you're dealing with. The steps below walk you through detection, material selection, and sealing in order.
What you will need
What You'll Need
The right tools make this project significantly easier and help ensure the seal lasts. Different gap types call for different sealants - using the wrong one is a common reason repairs fail within a season.
Caulk gun
Dispenses caulk evenly into stationary gaps around window frames and door casings.
Latex or silicone caulk
Fills fixed gaps between a window or door frame and the surrounding wall surface.
Self-adhesive foam weatherstripping
Compresses against moving surfaces like door stops and window sashes to block air when closed.
Door sweep
Attaches to the bottom of an exterior door to close the gap between the door and the threshold.
Putty knife
Removes old, cracked caulk and adhesive residue before applying fresh sealant.
Rope caulk
A removable, press-in sealant ideal for renters sealing window sashes for winter.
Renters: Check Before You Seal
Some caulking products bond permanently and may damage painted surfaces or wood when removed. Review your lease agreement and, if needed, ask your landlord for written permission before applying any sealant. Removable rope caulk or foam tape are generally renter-friendly alternatives. For a broader energy check, see a room-by-room energy audit that covers both ownership situations.
Step-by-Step: Sealing Your Doors and Windows
Locate the Air Leaks
On a cool or windy day, close all windows, exterior doors, and fireplace dampers. Hold a lit candle, incense stick, or thin strip of tissue paper near the edges of each window and door frame - including the sill, header, and side jambs. Flickering or movement reveals escaping or incoming air.
Pay close attention to corners, the junction between the frame and wall, the bottom threshold of exterior doors, and any area where two different materials meet. Mark each problem spot with painter's tape so you don't lose track.
Remove Old or Failing Sealant
Before applying anything new, old caulk or weatherstripping must come off. Use a putty knife or utility knife to score and peel away cracked or separated caulk. Pull off adhesive-backed foam weatherstripping by hand, then use isopropyl alcohol on a rag to remove adhesive residue.
Allow the surface to dry fully - ideally for at least an hour - before proceeding. Applying new sealant over moisture or old adhesive is one of the most common reasons a repair fails early. For a look at other well-meaning mistakes, see common DIY repair myths that can make problems worse.
Choose the Right Sealant for Each Gap
Not every gap takes the same solution. As a general rule: caulk fills fixed, non-moving gaps (between a frame and wall), while weatherstripping seals moving parts (door edges, operable sashes). For the full breakdown, caulk vs. weatherstripping is worth reading before you buy materials.
- Paintable latex caulk - good for interior window and door frames where you want a clean finish.
- Silicone caulk - better for exterior applications and areas exposed to moisture or temperature swings.
- Foam weatherstripping tape - suits door stops and window stops where compression creates a seal.
- V-strip (tension seal) weatherstripping - fits inside sliding channels of double-hung windows for a longer-lasting seal.
- Rope caulk - a removable, no-tools option pressed into gaps by hand; ideal for renters.
Apply Caulk to Stationary Gaps
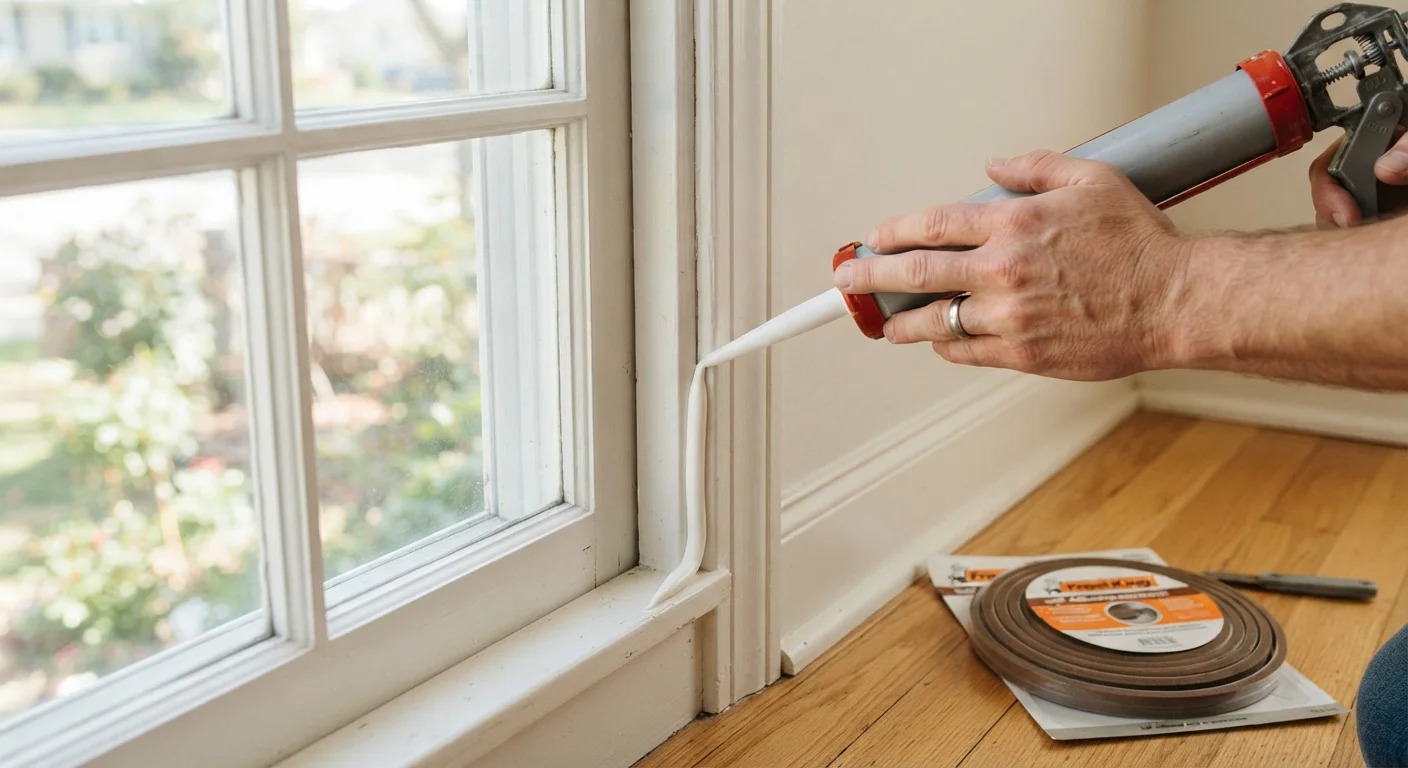
Load the caulk cartridge into the gun and cut the nozzle at a 45-degree angle, starting with a small opening. Apply steady, even pressure to the gun trigger while pulling it along the gap in one continuous motion. Aim to fill the gap fully without excess buildup.
Immediately smooth the bead with a dampened fingertip or a caulk finishing tool. Remove painter's tape (if used) before the caulk skins over - usually within a few minutes. Allow to cure fully according to the product's label before exposing to weather or painting over it.
Install Weatherstripping on Moving Parts
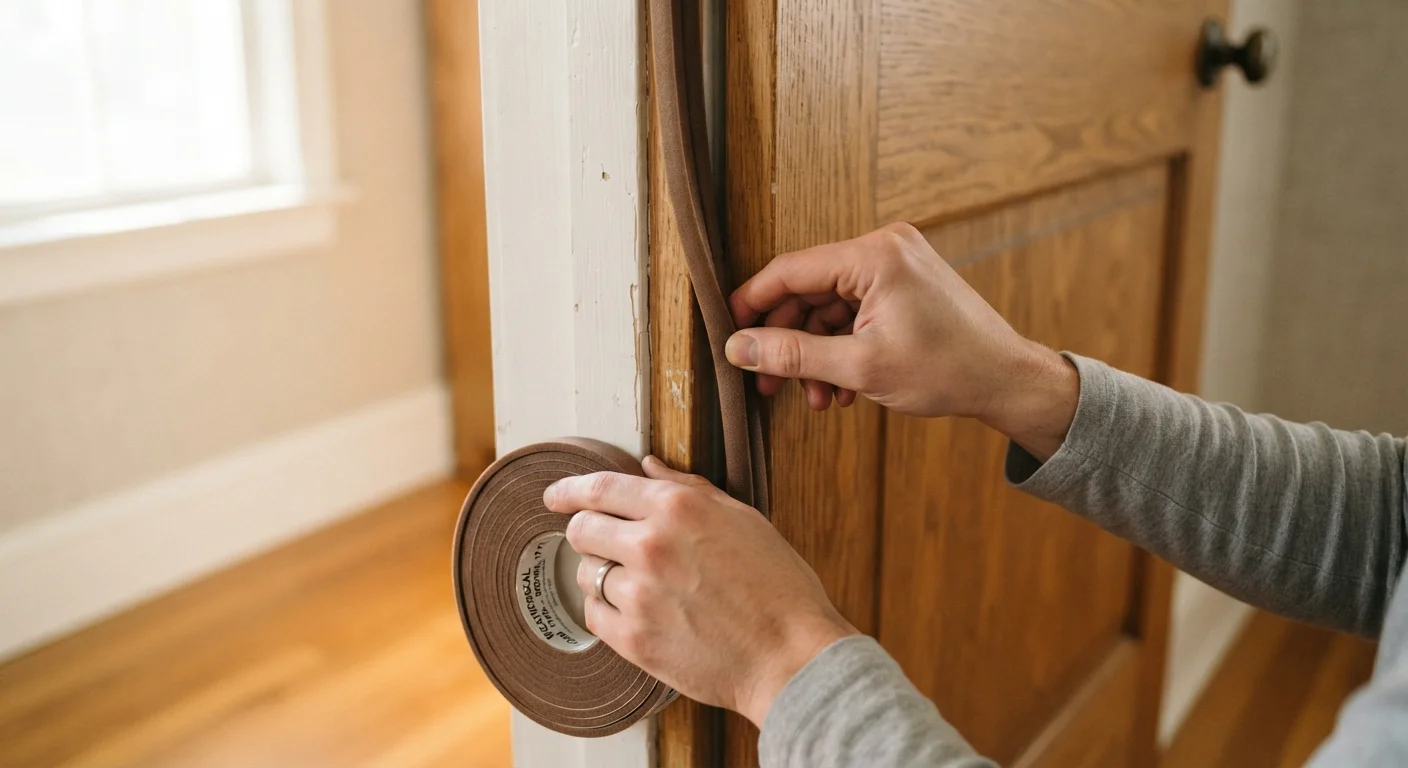
Measure each door edge or window sash before cutting weatherstripping - it's easy to cut short. For self-adhesive foam tape, peel the backing and press firmly along the door stop (the strip the door closes against), ensuring the foam will compress when the door shuts. For V-strip, fold it along its crease and slide or tack it into the channel so the open side of the V faces outward into the gap.
Close the door or window and check for even contact along the full length of the strip. Any section that doesn't compress isn't sealing.
Add a Door Sweep if Needed
The gap under an exterior door is often the largest single source of draught in a home. A door sweep attaches to the interior face of the door's bottom edge with screws. Adjust it so the sweep makes light contact with the threshold when the door is closed - too tight and it drags and wears out quickly; too loose and air passes through.
Some thresholds also have a replaceable rubber or vinyl gasket - if yours is flattened or cracked, it can be pulled out and a new one pressed in without replacing the entire threshold.
Retest and Confirm the Seals
Once sealants have cured and weatherstripping is in place, repeat the candle or tissue-paper test at every location you treated. Air movement should be minimal or undetectable at sealed points. If you still detect a draught, inspect whether the sealant adhered fully or whether a gap was missed at a corner.
For a more comprehensive look at where your home may be losing energy - beyond just doors and windows - a room-by-room energy audit walks through every space methodically.
Keeping Your Seals in Good Shape
Caulk and weatherstripping don't last forever. Silicone caulk can remain effective for a decade or more, but foam weatherstripping tape - especially on high-use doors - may need replacing every two to three years as it compresses and loses its resilience. Build a quick draught check into your fall and spring routines so you catch failures before they cost you a full season of energy loss.
If you find yourself repeatedly resealing the same spots, the underlying frame or threshold may have warped or settled - a condition that sealant alone won't fix permanently. In that case, it's worth consulting a contractor to assess whether the frame needs adjustment. Sealing also works best as part of a broader efficiency picture: balancing natural ventilation with air conditioning covers how to stay cool efficiently once your envelope is tighter.
Don't Over-Seal Ventilation Openings
Modern homes need a controlled amount of fresh air exchange for indoor air quality and to prevent moisture buildup. Seal gaps and cracks - not intentional vents or exhaust openings. If your home feels stuffy or you notice condensation problems after sealing, consult a building professional.