
Why Composting Makes Financial Sense
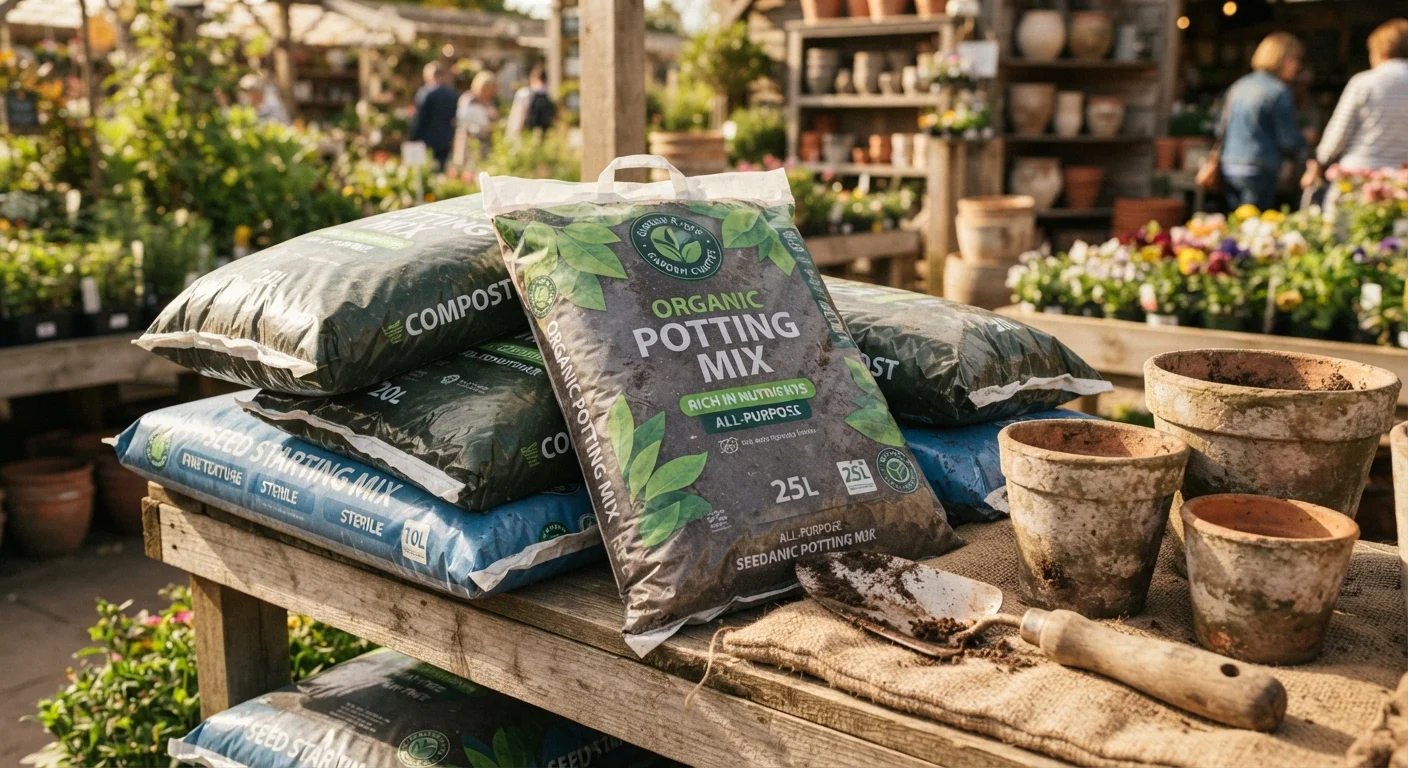
Bagged compost and fertiliser add up fast - a single season of soil amendments can cost $30-$80 or more depending on your garden size. Home composting lets you intercept that spending by converting waste you're already generating into a genuinely useful garden input. It's one of the most tangible ways to reduce costs while improving your soil at the same time.
Beyond the cost savings, composting also ties directly into reducing food waste. Kitchen scraps that would otherwise head to landfill - vegetable trimmings, fruit peels, coffee grounds, eggshells - become a slow-release, nutrient-rich amendment that store-bought products can struggle to replicate. See our guide to reducing food waste at home for complementary strategies that stretch both your groceries and your garden inputs further.
Whether you have a full backyard or just a balcony, some form of composting is almost always within reach. For renters working with limited space, our renter-friendly gardening guide covers how to make the most of compact setups - including where homemade compost fits in.
Compost Works in Containers Too
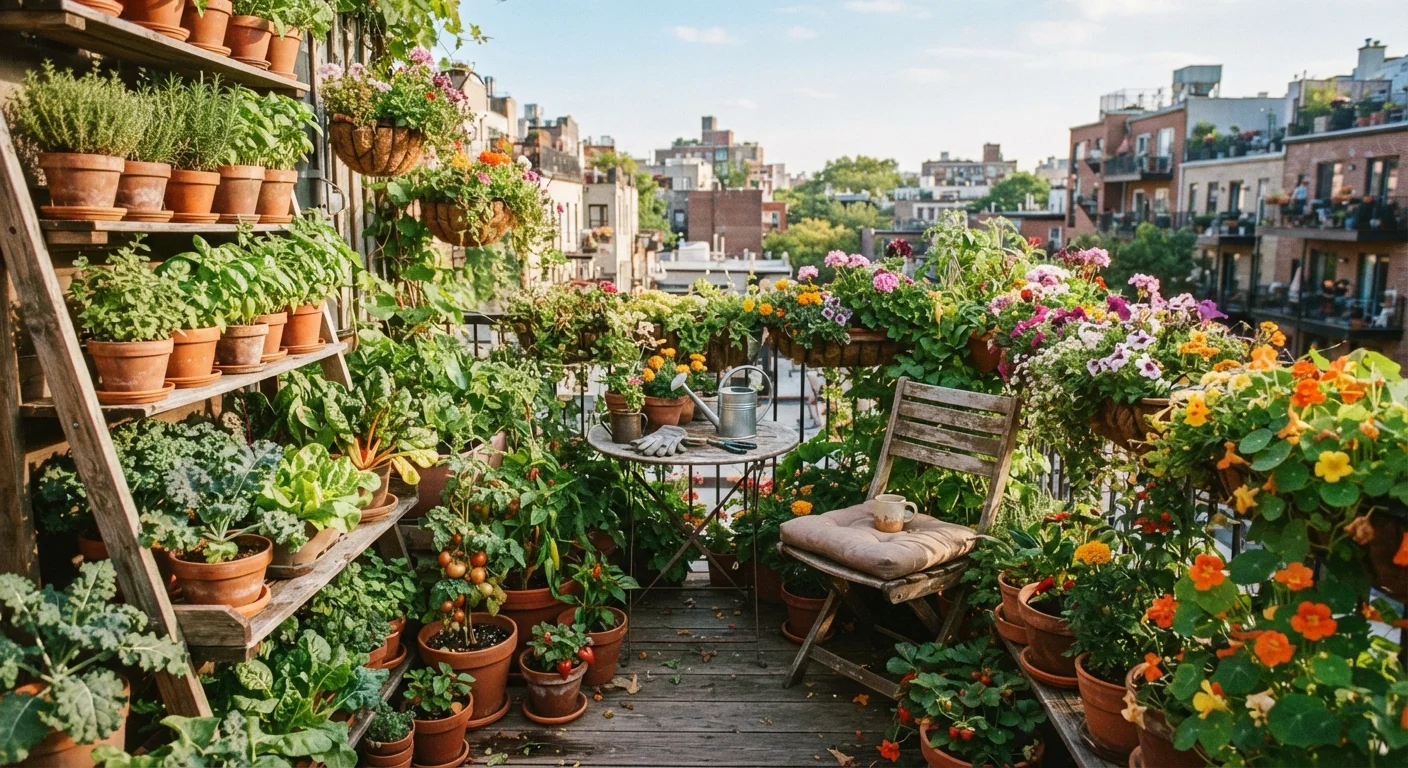
Homemade compost is especially valuable if you're container gardening, where soil quality matters more than in open ground. Mix a handful into each pot at planting time to improve drainage and nutrients without spending anything. For a broader look at the costs and trade-offs of container growing, see our container gardening overview.
What You Need Before You Start
Composting doesn't require specialist equipment. The basics are a container or designated area, a mix of organic materials, and a little consistency. Here's what to gather before setting up your pile.
What you will need
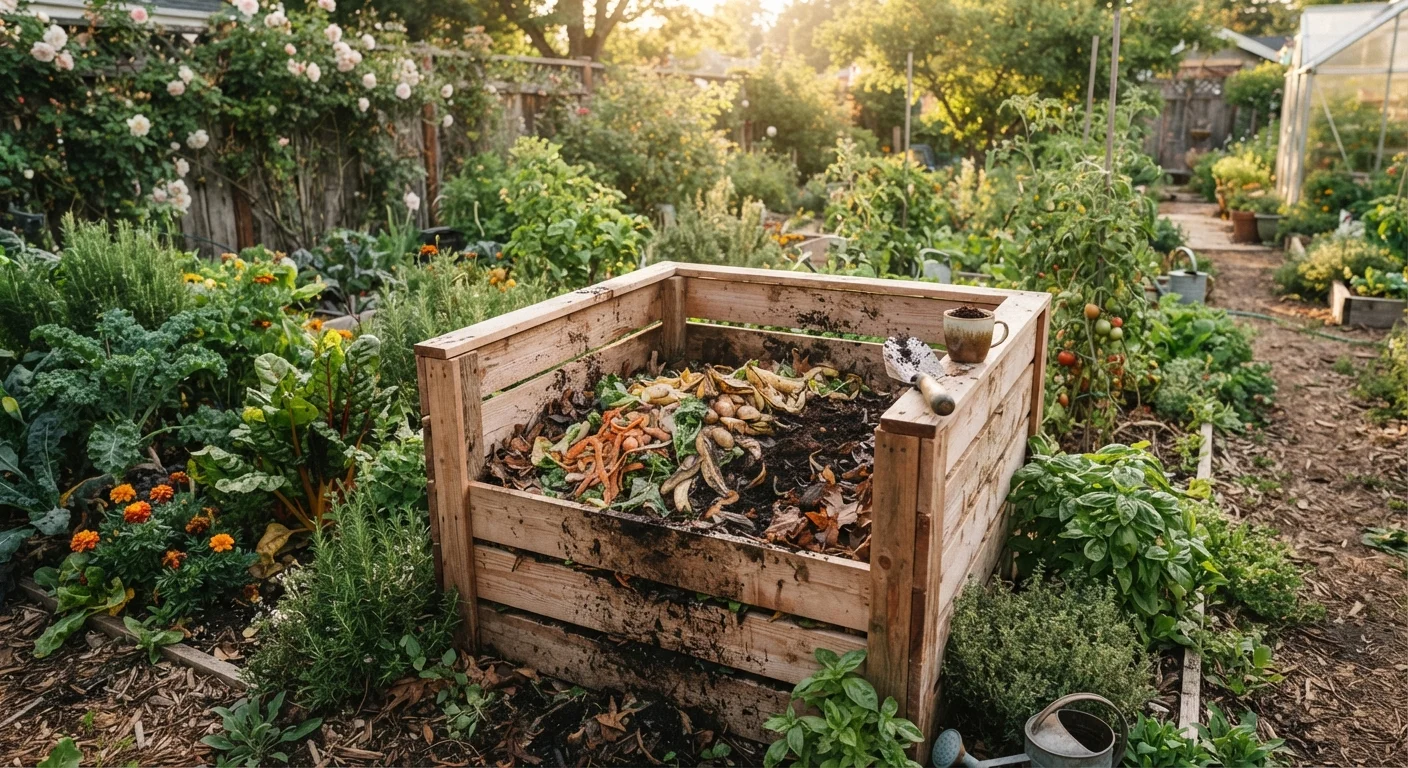
Compost bin or open pile enclosure
Contains materials, retains heat, and speeds up decomposition.
Kitchen scrap collection container
A small lidded container on the counter collects daily scraps before transferring to the main bin.
Pitchfork or garden fork
Used to aerate and turn the compost pile to speed breakdown.
Worm bin (vermicomposting bin)
An indoor alternative for renters or anyone without outdoor space; worms process scraps quickly.
Bokashi fermentation bucket
Ferments cooked food scraps and meat that a standard pile can't handle - useful in small apartments.
Step-by-Step: Building and Maintaining Your Compost
Follow these steps to get a pile working from scratch. The process is forgiving - small mistakes are easy to correct once you understand the underlying balance.
Choose your composting method
Outdoor piles or bins work best for homeowners with garden space. Renters or those with limited space can use a worm bin indoors or a bokashi bucket on a countertop. Both produce usable compost in smaller volumes without odour issues when managed correctly.
Layer greens and browns in roughly equal parts
Greens (nitrogen-rich): vegetable and fruit scraps, coffee grounds and filters, fresh grass clippings, plant trimmings.
Browns (carbon-rich): cardboard torn into small pieces, shredded newspaper, dried leaves, paper egg cartons.
Aim for a ratio of roughly one part greens to one or two parts browns by volume. Too many greens produces a slimy, smelly pile; too many browns slows decomposition significantly.
Add water and check moisture
The pile should feel like a wrung-out sponge - damp throughout but not dripping. In dry climates or summer months, you may need to water it lightly every few days. In wet climates, cover the pile with a lid or tarp to prevent soaking.
Turn the pile regularly
Use a pitchfork or garden fork to mix the pile once or twice a week. Turning introduces oxygen, which feeds the aerobic bacteria that break down materials. The more frequently you turn, the faster you'll get finished compost - active piles turned every few days can be ready in as little as four to six weeks.
Recognise when compost is finished
Finished compost is dark brown, crumbly, and smells earthy - like forest floor. You should no longer be able to identify individual scraps. If the pile still contains recognisable material, let it sit for another two to four weeks before using. Sift out any large unfinished chunks and toss them back into the active pile.
What Not to Add to a Home Compost Pile
Avoid adding meat, fish, cooked food with oil, dairy products, or pet waste to a standard outdoor pile - these attract pests and can create health hazards. Diseased plant material should also be kept out, as the pathogens may survive and spread when the compost is used. A bokashi system is the appropriate tool if you want to process cooked scraps or animal products.
Once your compost is dark, crumbly, and earthy-smelling, it's ready to use. Work it into container soil, spread it across garden beds, or mix it with affordable filler. For context on when premium bagged alternatives are - and aren't - worth the extra cost, see why expensive potting mix isn't always worth it. Pair your free compost with free or low-cost plants from plant swaps and cuttings networks for an almost zero-cost garden setup.