
Why Seed Saving Makes Financial Sense
Buying fresh seed packets every season adds up - even budget gardeners can spend $30-$60 or more a year on seeds alone. Seed saving interrupts that cycle. Once you establish a collection of well-stored open-pollinated varieties, you can replant year after year at virtually no cost.
Beyond the savings, seed saving preserves variety. Many open-pollinated and heirloom plants aren't widely stocked at garden centers, and saving your own seeds ensures you can keep growing a variety that performs well in your specific soil and climate. That local adaptation is genuinely valuable - a tomato variety that has grown in your backyard for three seasons will often perform better there than a commercially bred alternative.
Seed saving also pairs naturally with other low-cost gardening strategies. You can share surplus seeds with neighbors, contribute to a community seed library, or trade with gardeners online. See our guide to plant swaps and freecycle gardening for ideas on how to build a diverse garden without spending more. And if you're just getting started and want to understand what you actually need to garden affordably, starting a garden on a shoestring is a good place to begin.
Avoid Saving Seeds from Hybrids
Seeds labeled F1 on the packet come from hybrid plants bred by crossing two distinct parent lines. Seeds collected from hybrids will not reliably reproduce the same plant - you may get something dramatically different or less productive. Always look for 'open-pollinated' or 'heirloom' on the seed packet before planning to save from that variety.
What You'll Need
Seed saving requires very little equipment - most of what you need is probably already in your kitchen. Before you begin, gather the following:
What you will need
Paper envelopes or coin envelopes
Store individual seed varieties while allowing any remaining moisture to escape during the curing period.
Fine-mesh strainer or sieve
Separate seeds from chaff, dried flower material, and debris after threshing.
Ceramic plates or baking trays
Spread seeds in a single layer to dry evenly at room temperature.
Permanent marker or pen
Label envelopes with variety name, plant type, and harvest year for future reference.
Airtight glass jars with lids
Provide long-term, pest-resistant storage once seeds are fully dried.
Silica gel desiccant packets
Absorb residual humidity inside storage containers to prevent mold.
Small funnel
Transfer tiny seeds from drying surface into envelopes without scattering.
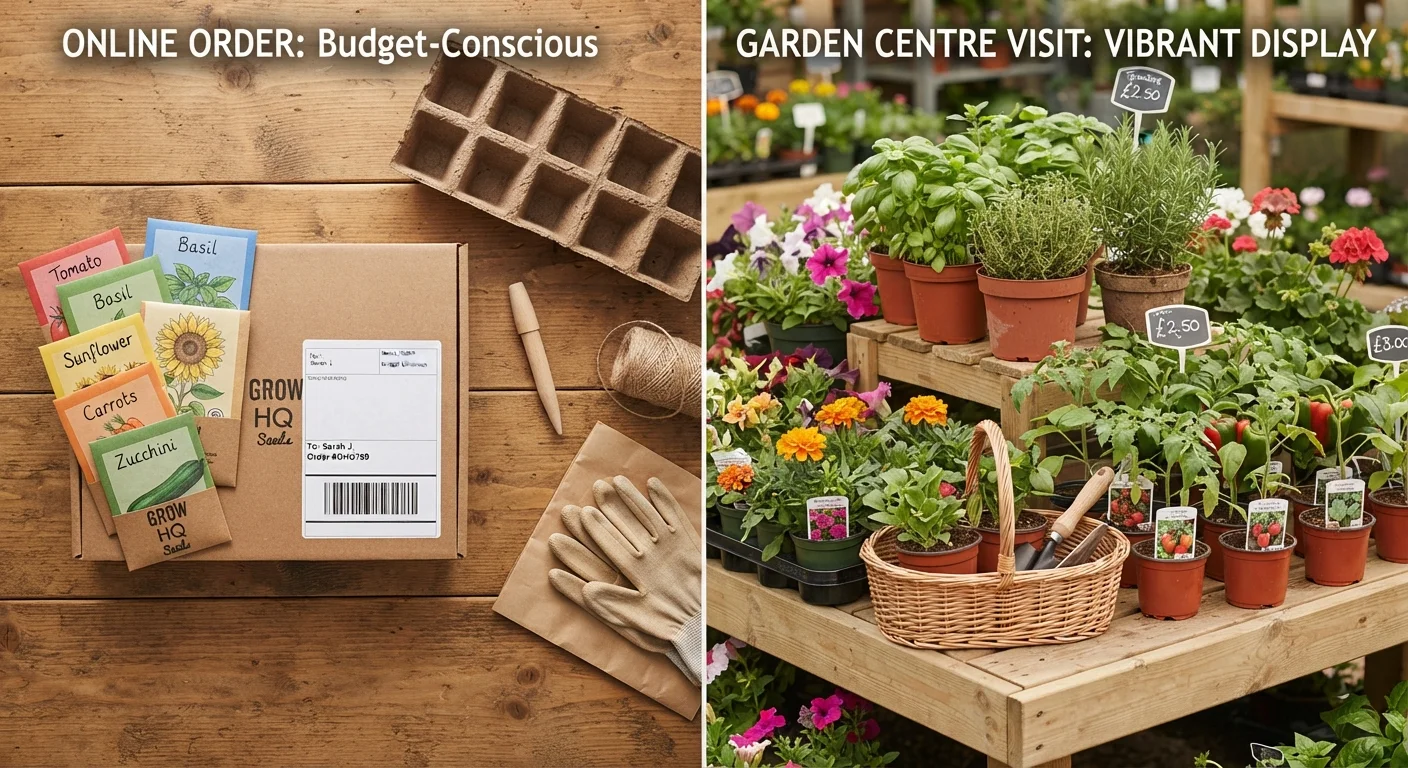
If you're still building out your seed supply and weighing where to buy in the meantime, our comparison of garden centres vs. online seed suppliers can help you decide where your money goes furthest.
Step-by-Step: Collecting, Drying, and Storing Your Seeds
Moisture Is the Enemy of Stored Seeds
Even a small amount of residual moisture inside a sealed container will cause seeds to mold or trigger premature germination. Never seal seeds in airtight containers until they have dried completely - at least one to two weeks on a flat surface at room temperature. If in doubt, dry them longer.
Identify the right plants and varieties to save from
Before collecting a single seed, confirm that your plants are open-pollinated or heirloom varieties - not hybrids. Check the original seed packet if you still have it. Open-pollinated plants reproduce true to type, meaning the seeds you save will grow into plants nearly identical to the parent. Good beginner choices include tomatoes, peppers, beans, peas, lettuce, and most annual flowers like zinnias and cosmos.
Select your healthiest, most productive plants as seed donors. Avoid saving from plants that showed signs of disease, poor germination, or weak growth - you want to carry forward strong traits.
Allow seeds to reach full maturity on the plant
Timing is critical. Seeds must reach physiological maturity - the point at which they have fully developed and dried down - before you harvest them. For most vegetables, this means leaving fruits or seed heads on the plant longer than you would for eating. A tomato saved for seed should be left until it is very ripe and slightly soft. Bean and pea pods should rattle when shaken. Flower seed heads should be dry and papery.
If frost threatens before your seeds mature, cut the entire stem and hang it upside down in a dry indoor space to finish ripening.
Extract and clean the seeds
Extraction method depends on the plant type:
- Dry-seeded crops (beans, peas, lettuce, flowers): Simply shell pods by hand, or rub dried seed heads over a bowl. Use a fine-mesh strainer to sift out chaff and broken plant material.
- Wet-seeded crops (tomatoes, cucumbers, squash): Scoop seeds and surrounding gel into a jar with a small amount of water. Let the mixture ferment at room temperature for two to three days, stirring daily. Viable seeds will sink while the gel and non-viable seeds float. Pour off the liquid, rinse the sinking seeds thoroughly, and spread them to dry.
Fermentation is not optional for tomatoes - the gel coating contains germination inhibitors that the process breaks down.
Dry seeds thoroughly before storage
Spread cleaned seeds in a single, non-overlapping layer on a ceramic plate, baking tray, or piece of parchment paper. Place them in a well-ventilated room away from direct sunlight - heat can damage seeds, but good airflow speeds drying. Stir or turn seeds daily to prevent clumping.
Dry seeds for at least one to two weeks. To test readiness, try to bend a larger seed like a bean - fully dried seeds will snap cleanly rather than bend. Smaller seeds should feel hard and non-tacky to the touch.
Label and package seeds for storage
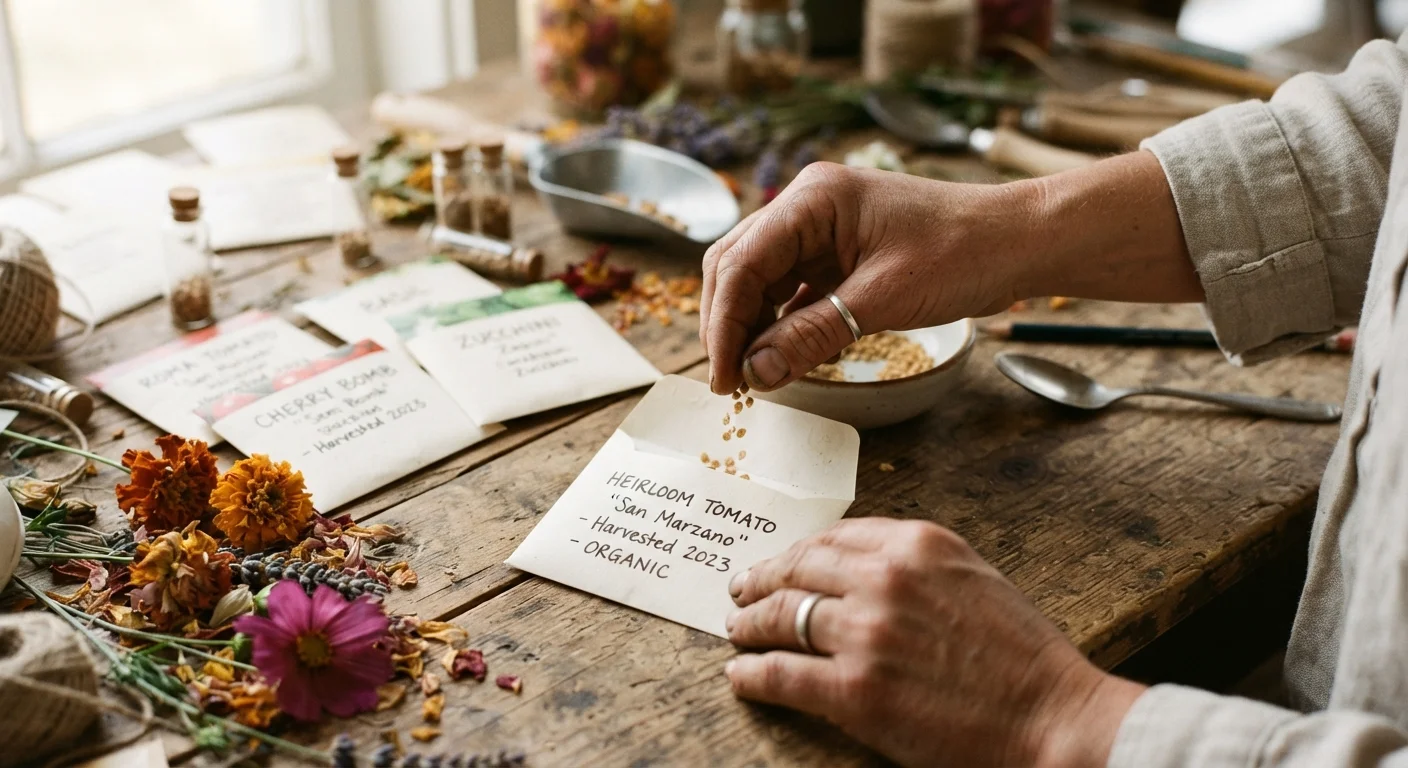
Before seeds go into any container, label them clearly. At minimum, write the plant type, variety name, and the year of harvest on each envelope. A label that just says 'tomato' will be frustrating by year two when you have three different types. Paper coin envelopes or small folded paper packets work well because they allow any remaining trace moisture to continue escaping during initial storage.
Once individually packaged, place the envelopes together inside an airtight glass jar. Add a silica gel desiccant packet if available, then seal the jar and store it in a cool, dark location.
Store seeds in the right conditions and test viability before planting
The ideal storage environment is cool, dark, and dry. A dedicated shelf in a cool interior closet works well for most households. Avoid garages, sheds, or windowsills where temperatures fluctuate. Under consistent conditions, most vegetable seeds remain viable for two to five years, though onions and parsnips tend to lose viability faster (one to two years), while tomatoes and squash often last four to six years.
Before each planting season, run a simple germination test on older seeds: place ten seeds on a damp paper towel, fold it over, and keep it warm for the number of days the packet recommends. Count how many sprout. If fewer than five out of ten germinate, sow more densely to compensate, or consider refreshing that variety from a new source.
Silica Gel Packets Extend Storage Life
Tuck a small food-safe silica gel packet into your seed storage container to absorb any residual humidity. You can often reuse the packets found in vitamin bottles or shoe boxes. This is especially useful if you live in a humid climate or store seeds in a basement.
Once your seeds are stored and labeled, note planting windows so you use them at the right time next season. Our seasonal planting calendar for low-cost vegetables is a useful companion reference for timing your sowings correctly.